
FREE Crochet Pattern | Easy Lily Pad Crochet Pattern
Written by Kristen M
Published on: October 2nd, 2026
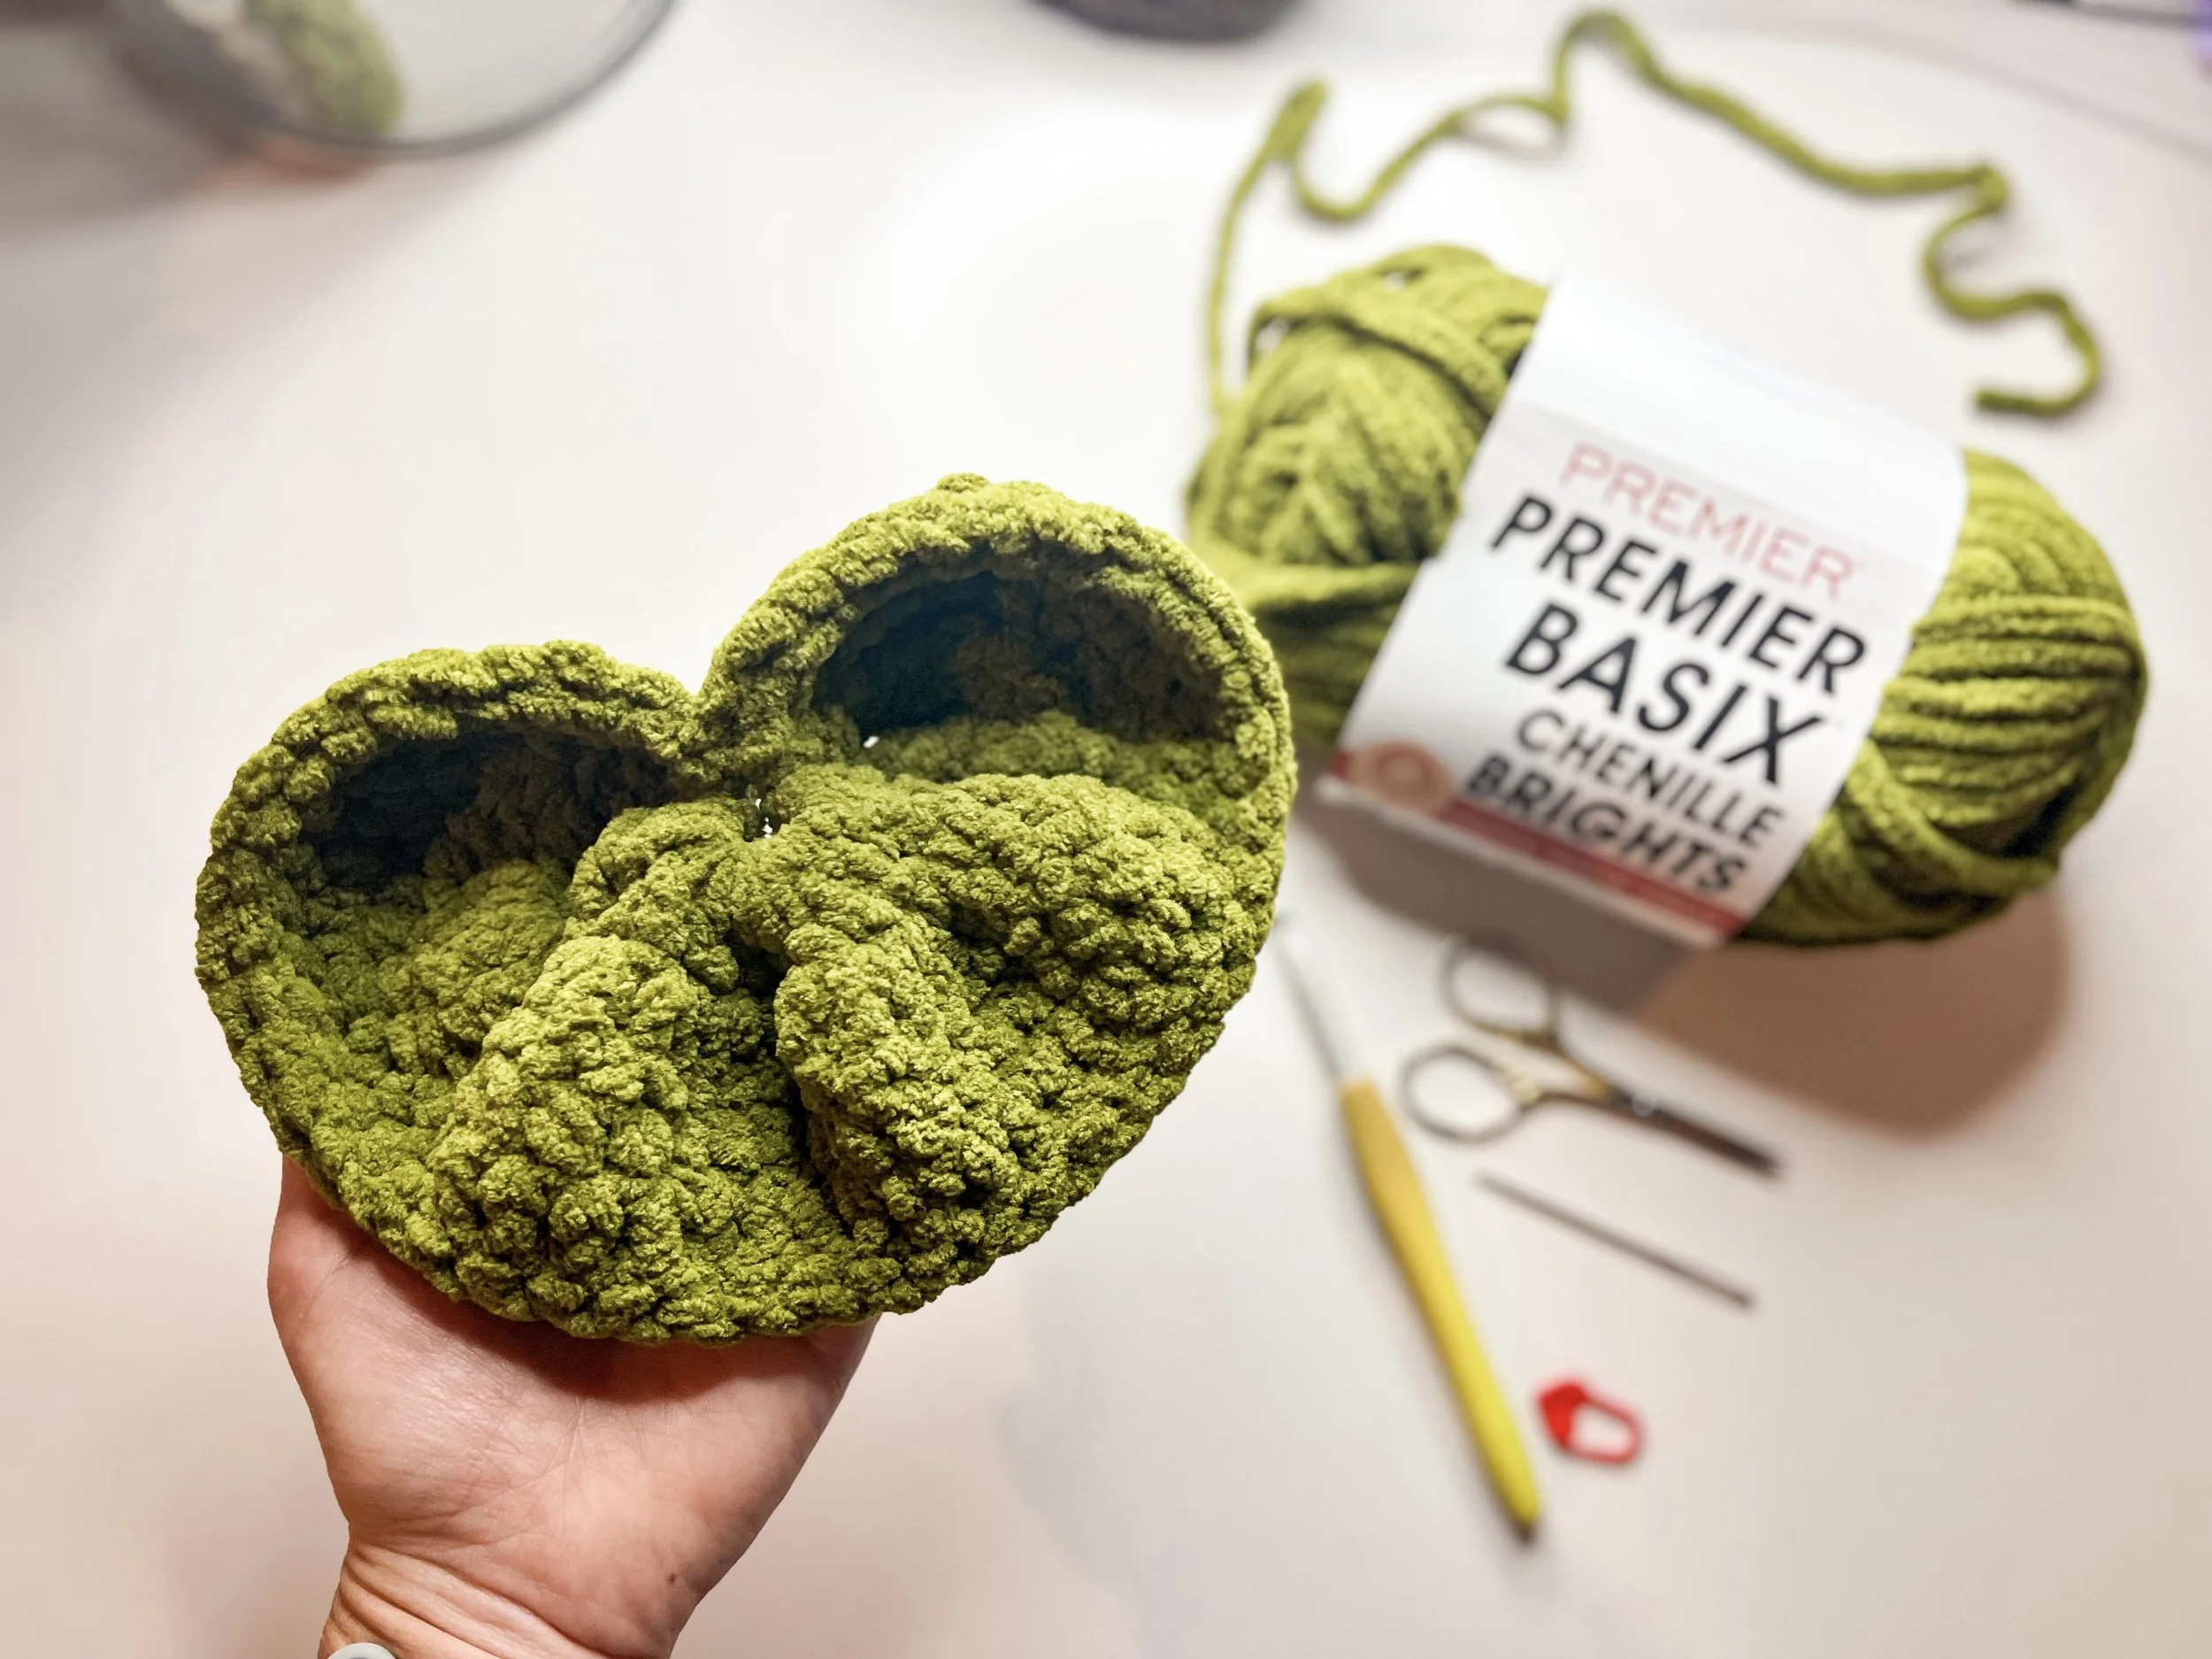
FREE CROCHET LILY PAD PATTERN
There’s just something whimsical about water lilies floating across the surface of a pond. Maybe it’s the little splash of green, the way the leaves sit perfectly on the water, or the fact that they always seem like they belong in a beautiful storybook world.
If you’ve been following along with my Storybook Flowers Crochet Pattern Collection, you might recognize the flower that inspired this little project!
Today I’m sharing a free crochet lily pad pattern that you can make to pair with my crocheted Water Lily flower. It’s a quick and simple crochet project, and it’s the perfect little detail for creating your own whimsical pond-inspired crochet pieces.
Why I designed a lily pad pattern…
Taking you back to the beginning, I’ll tell you the story behind the water lily crochet pattern first!
A friend of mine contacted me several months ago asking if she could order a custom birth flower bouquet! To say I was excited about this new project is an understatement. I had never made a custom bouquet for an order, so it was fun to take on the challenge of making her a bouquet to represent her sweet family of 6. Thankfully, I happened to already have every birth flower designed to represent her family, except for her newest addition who was born in July. I told her if she didn’t mind waiting a couple of extra weeks, that I would try my hand at designing a July birth month flower.
The birth month flowers are the larkspur and the water lily. After attempting, and failing, at the larkspur; I decided to try designing a water lily instead. Thankfully, the new design slowly but surely came together and I was able to finally add the last flower completing this special family bouquet.
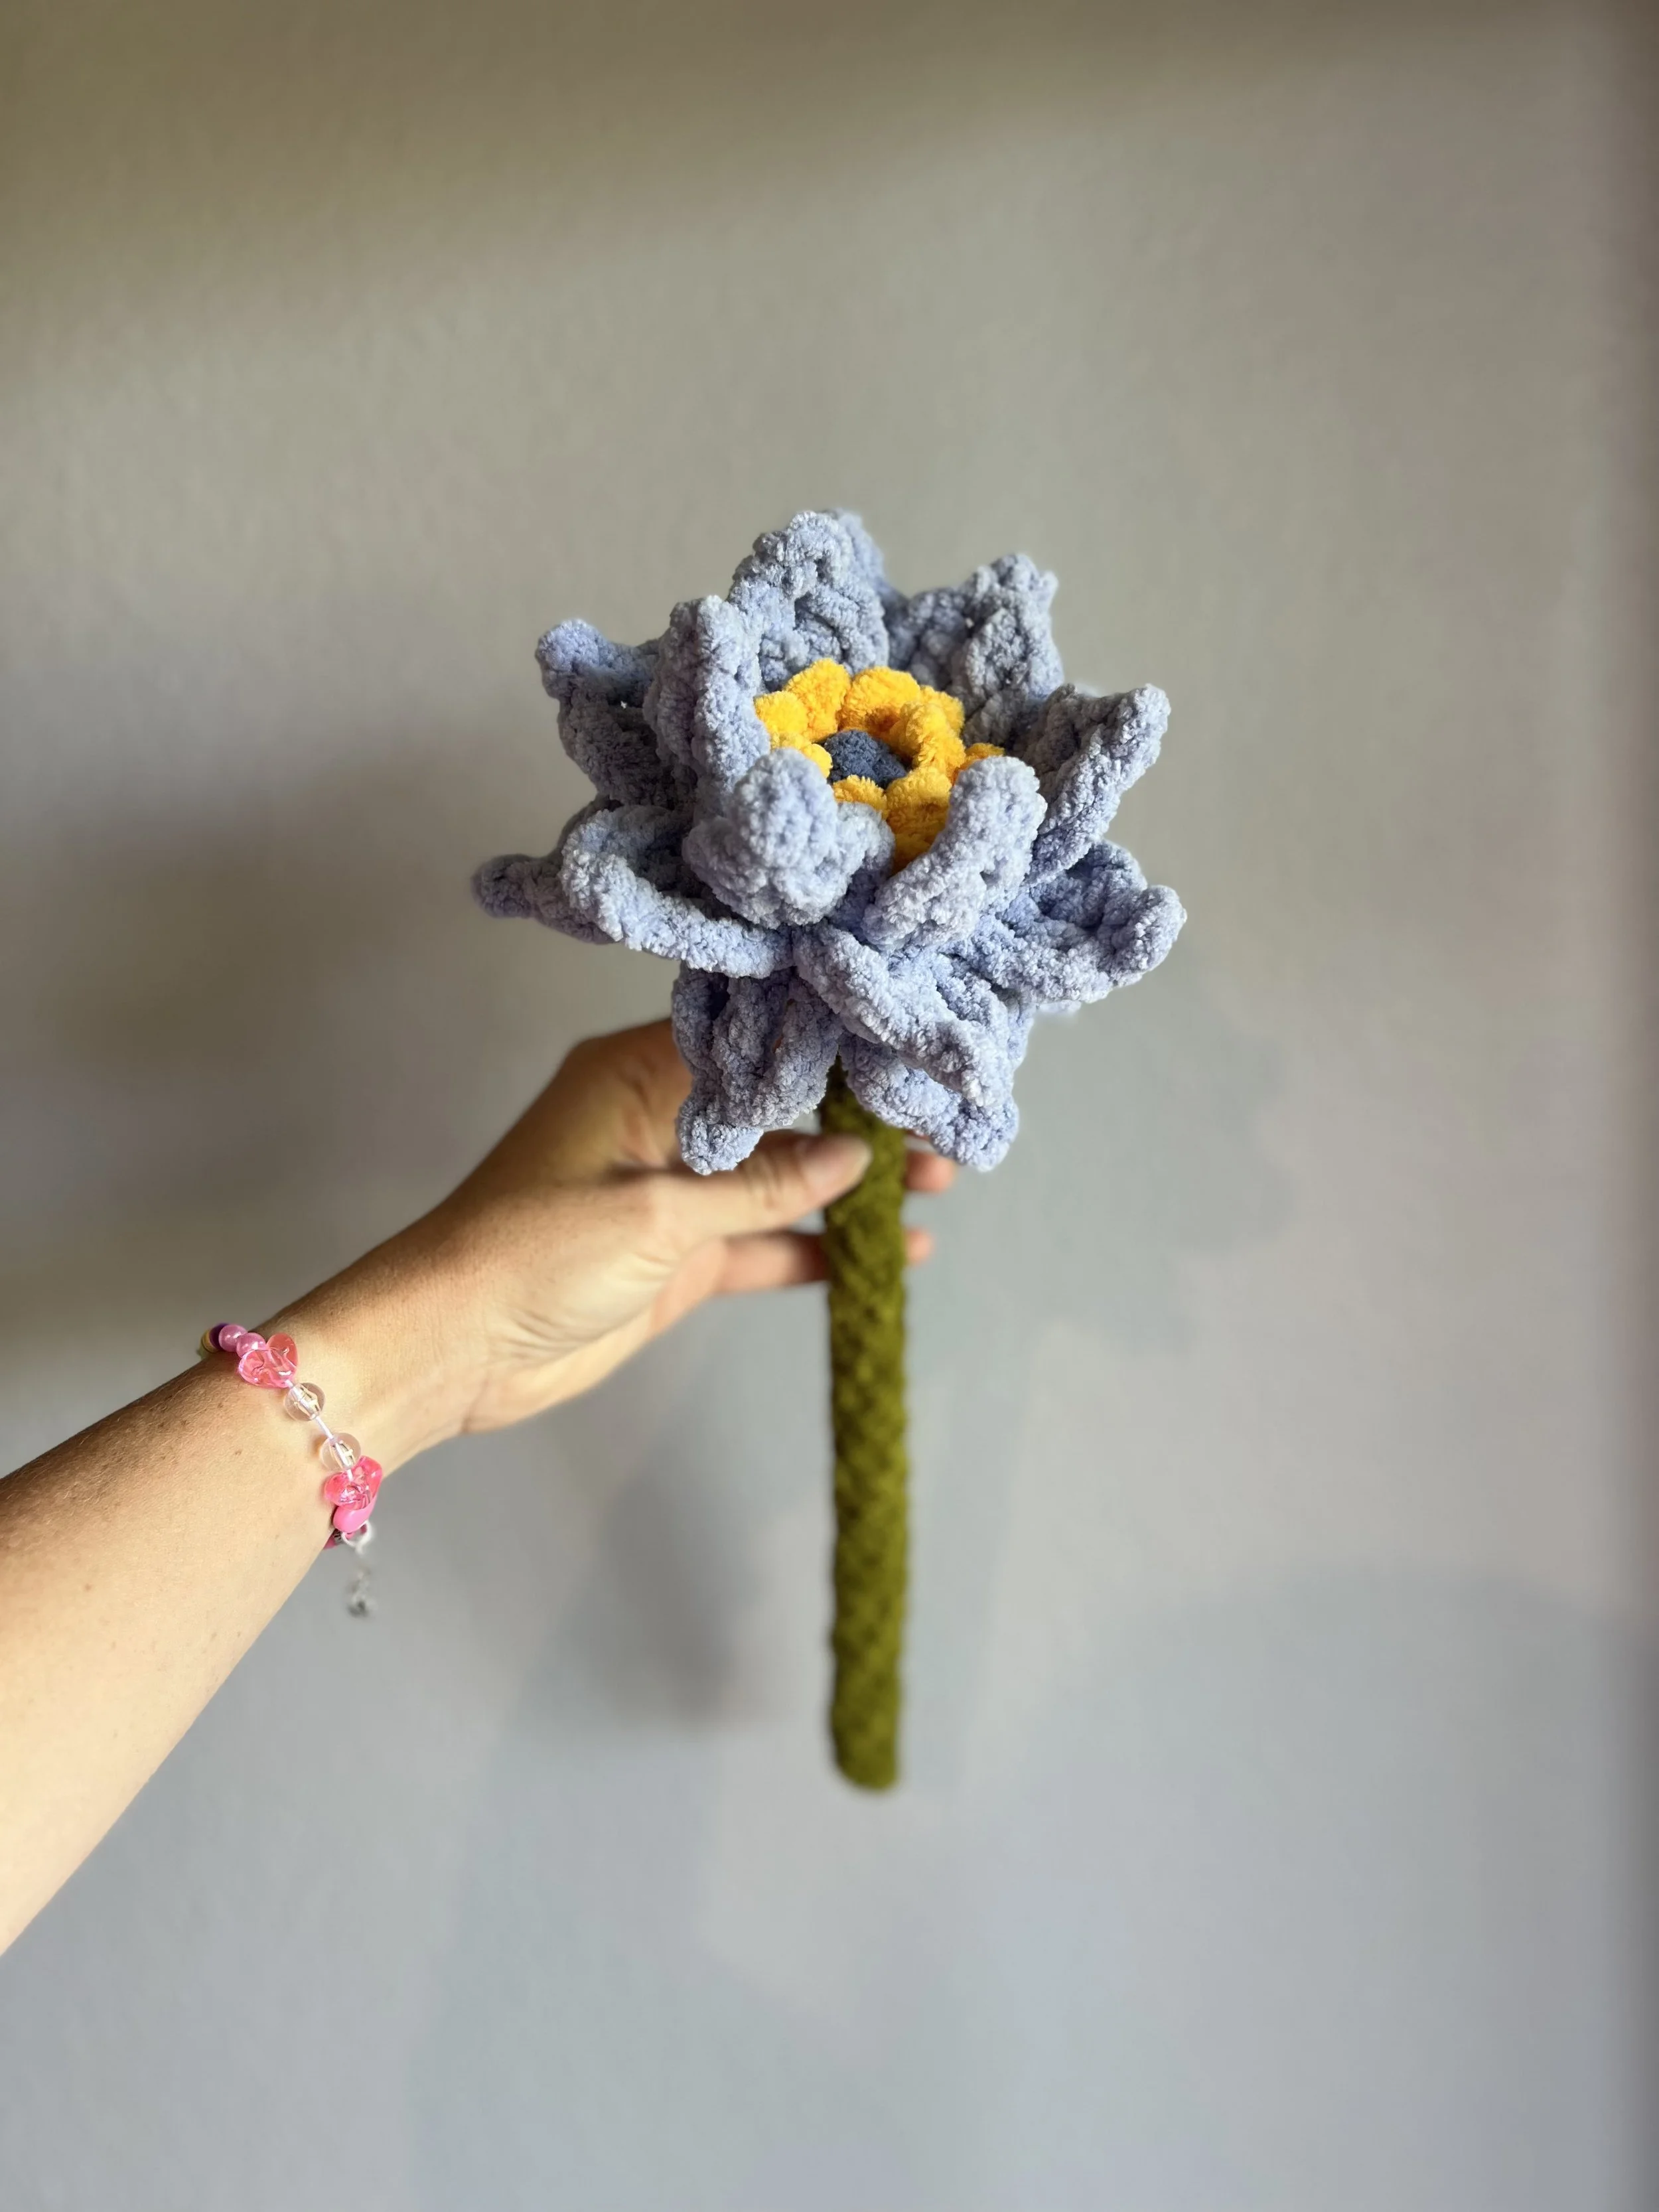
The final flower to complete my friend’s birth month flower bouquet!
Fun Fact: a blue lotus is a flower in the water lily family!
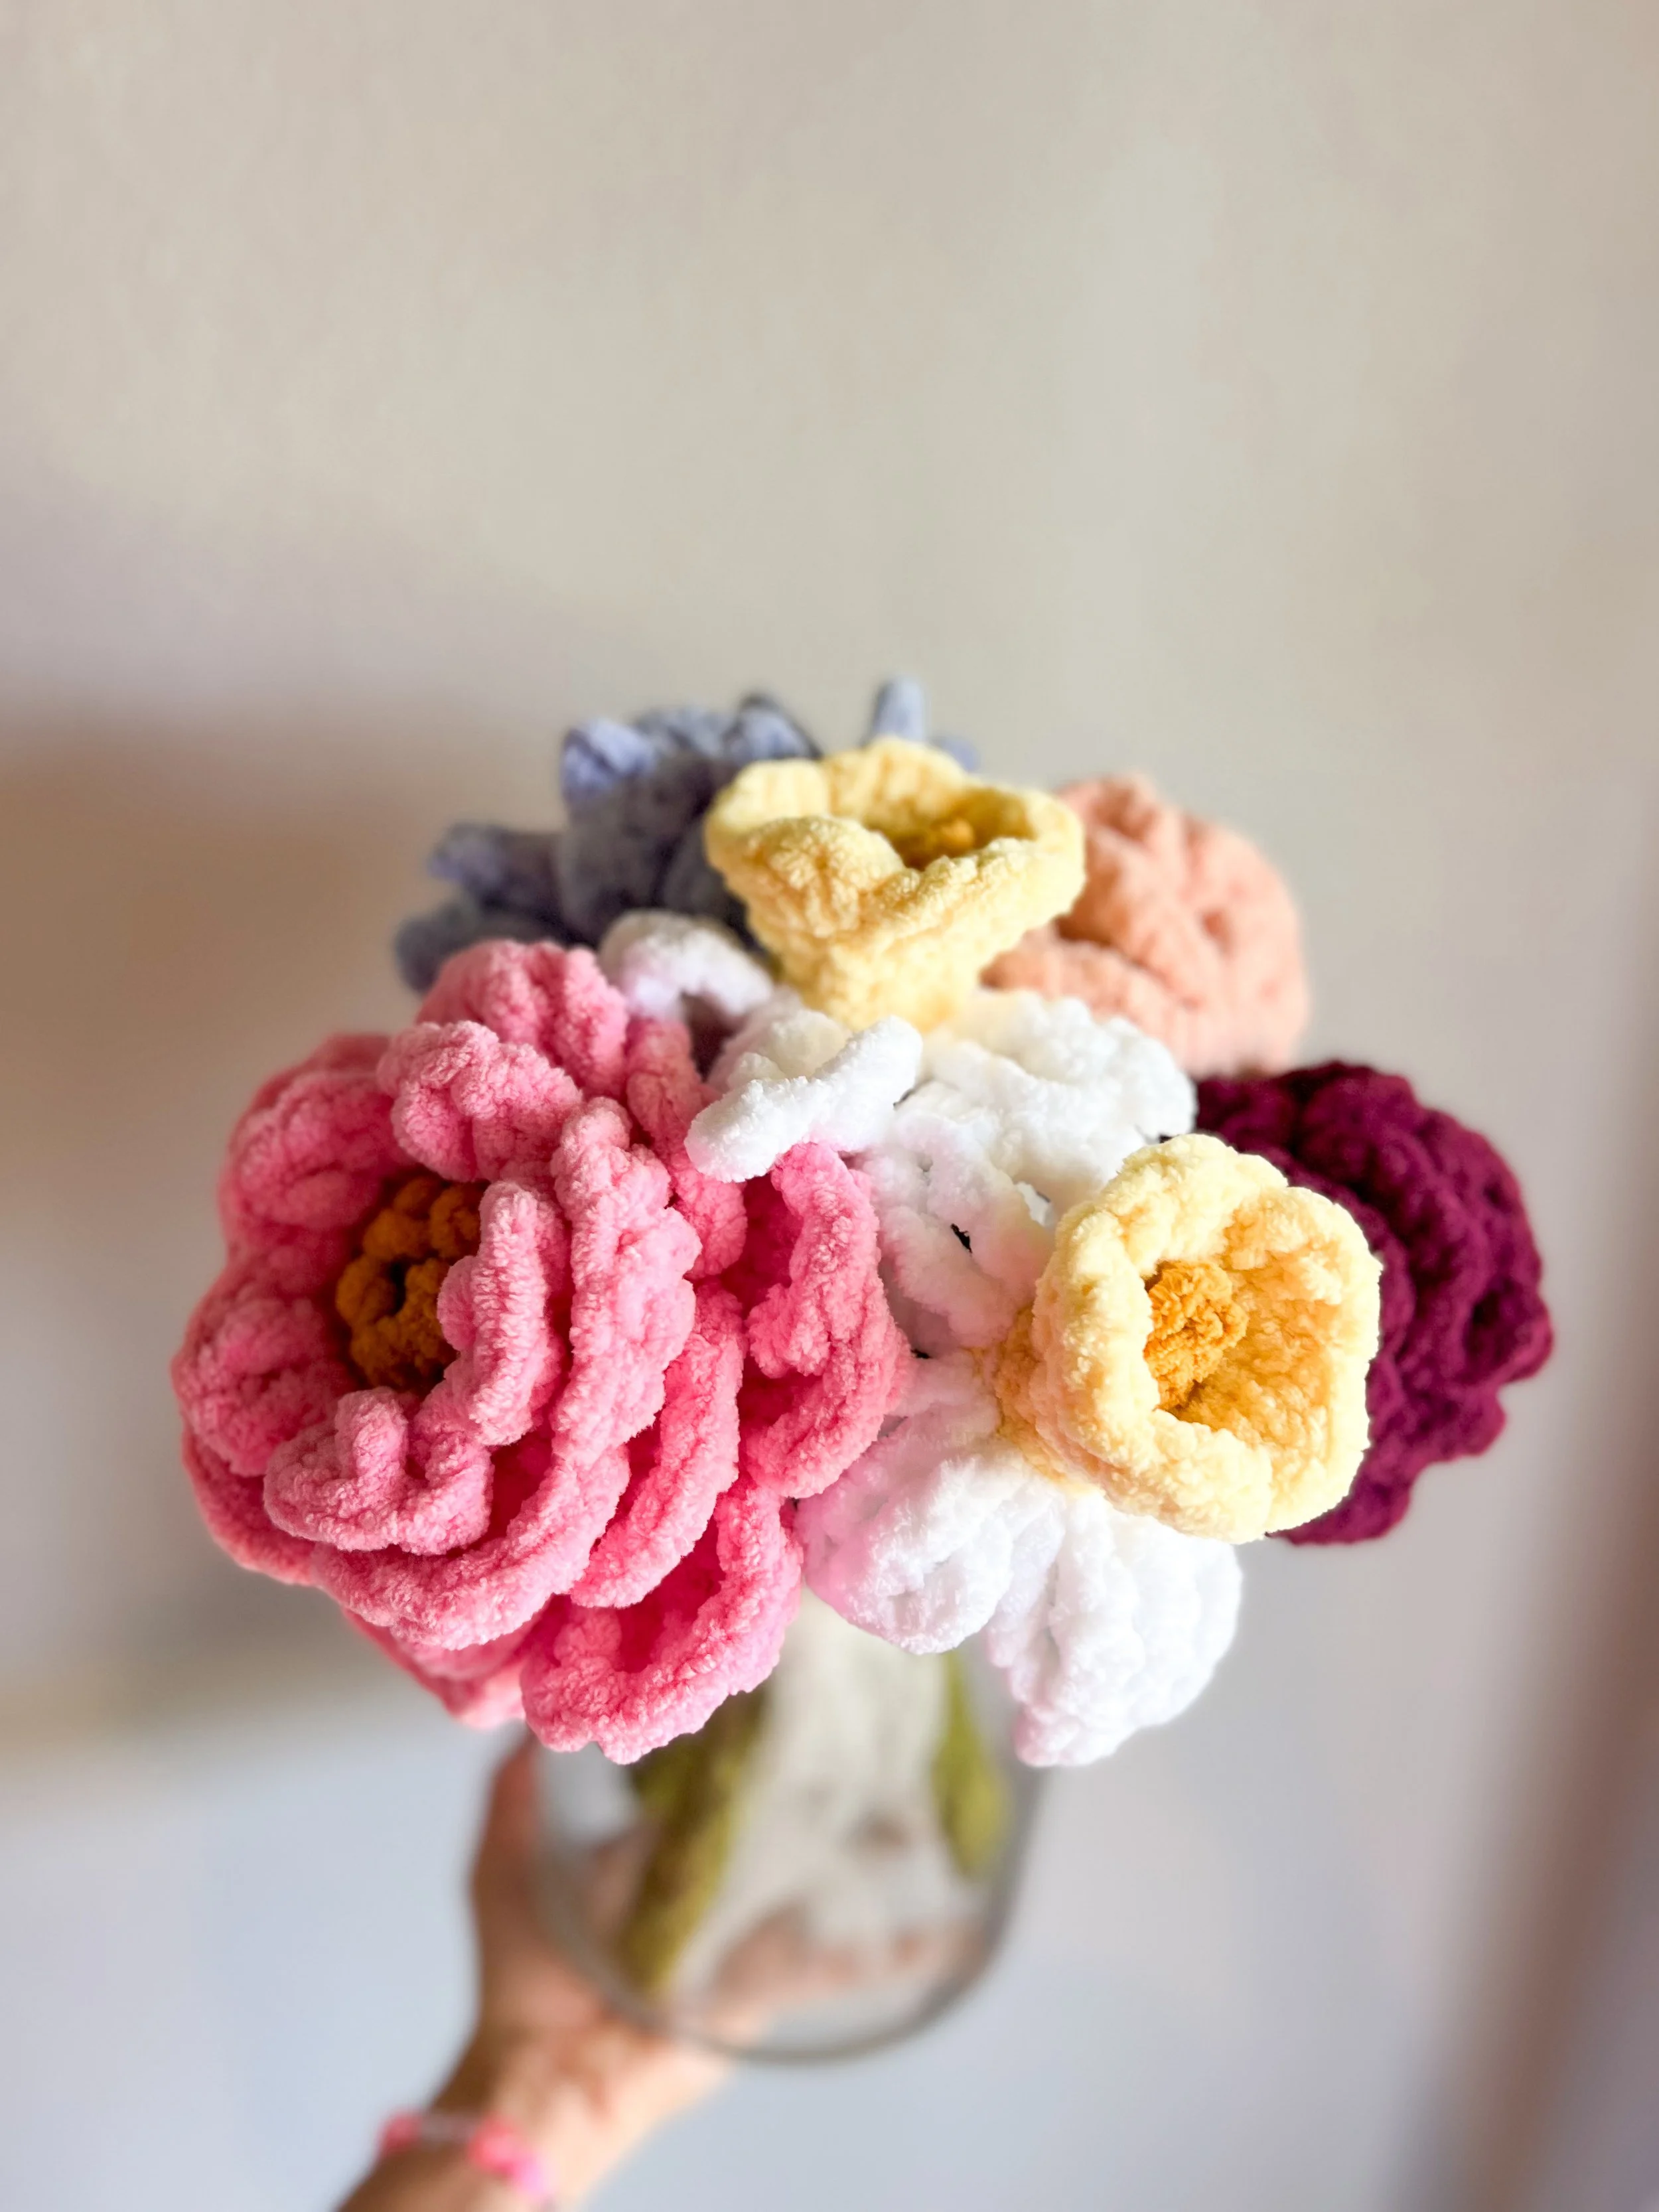
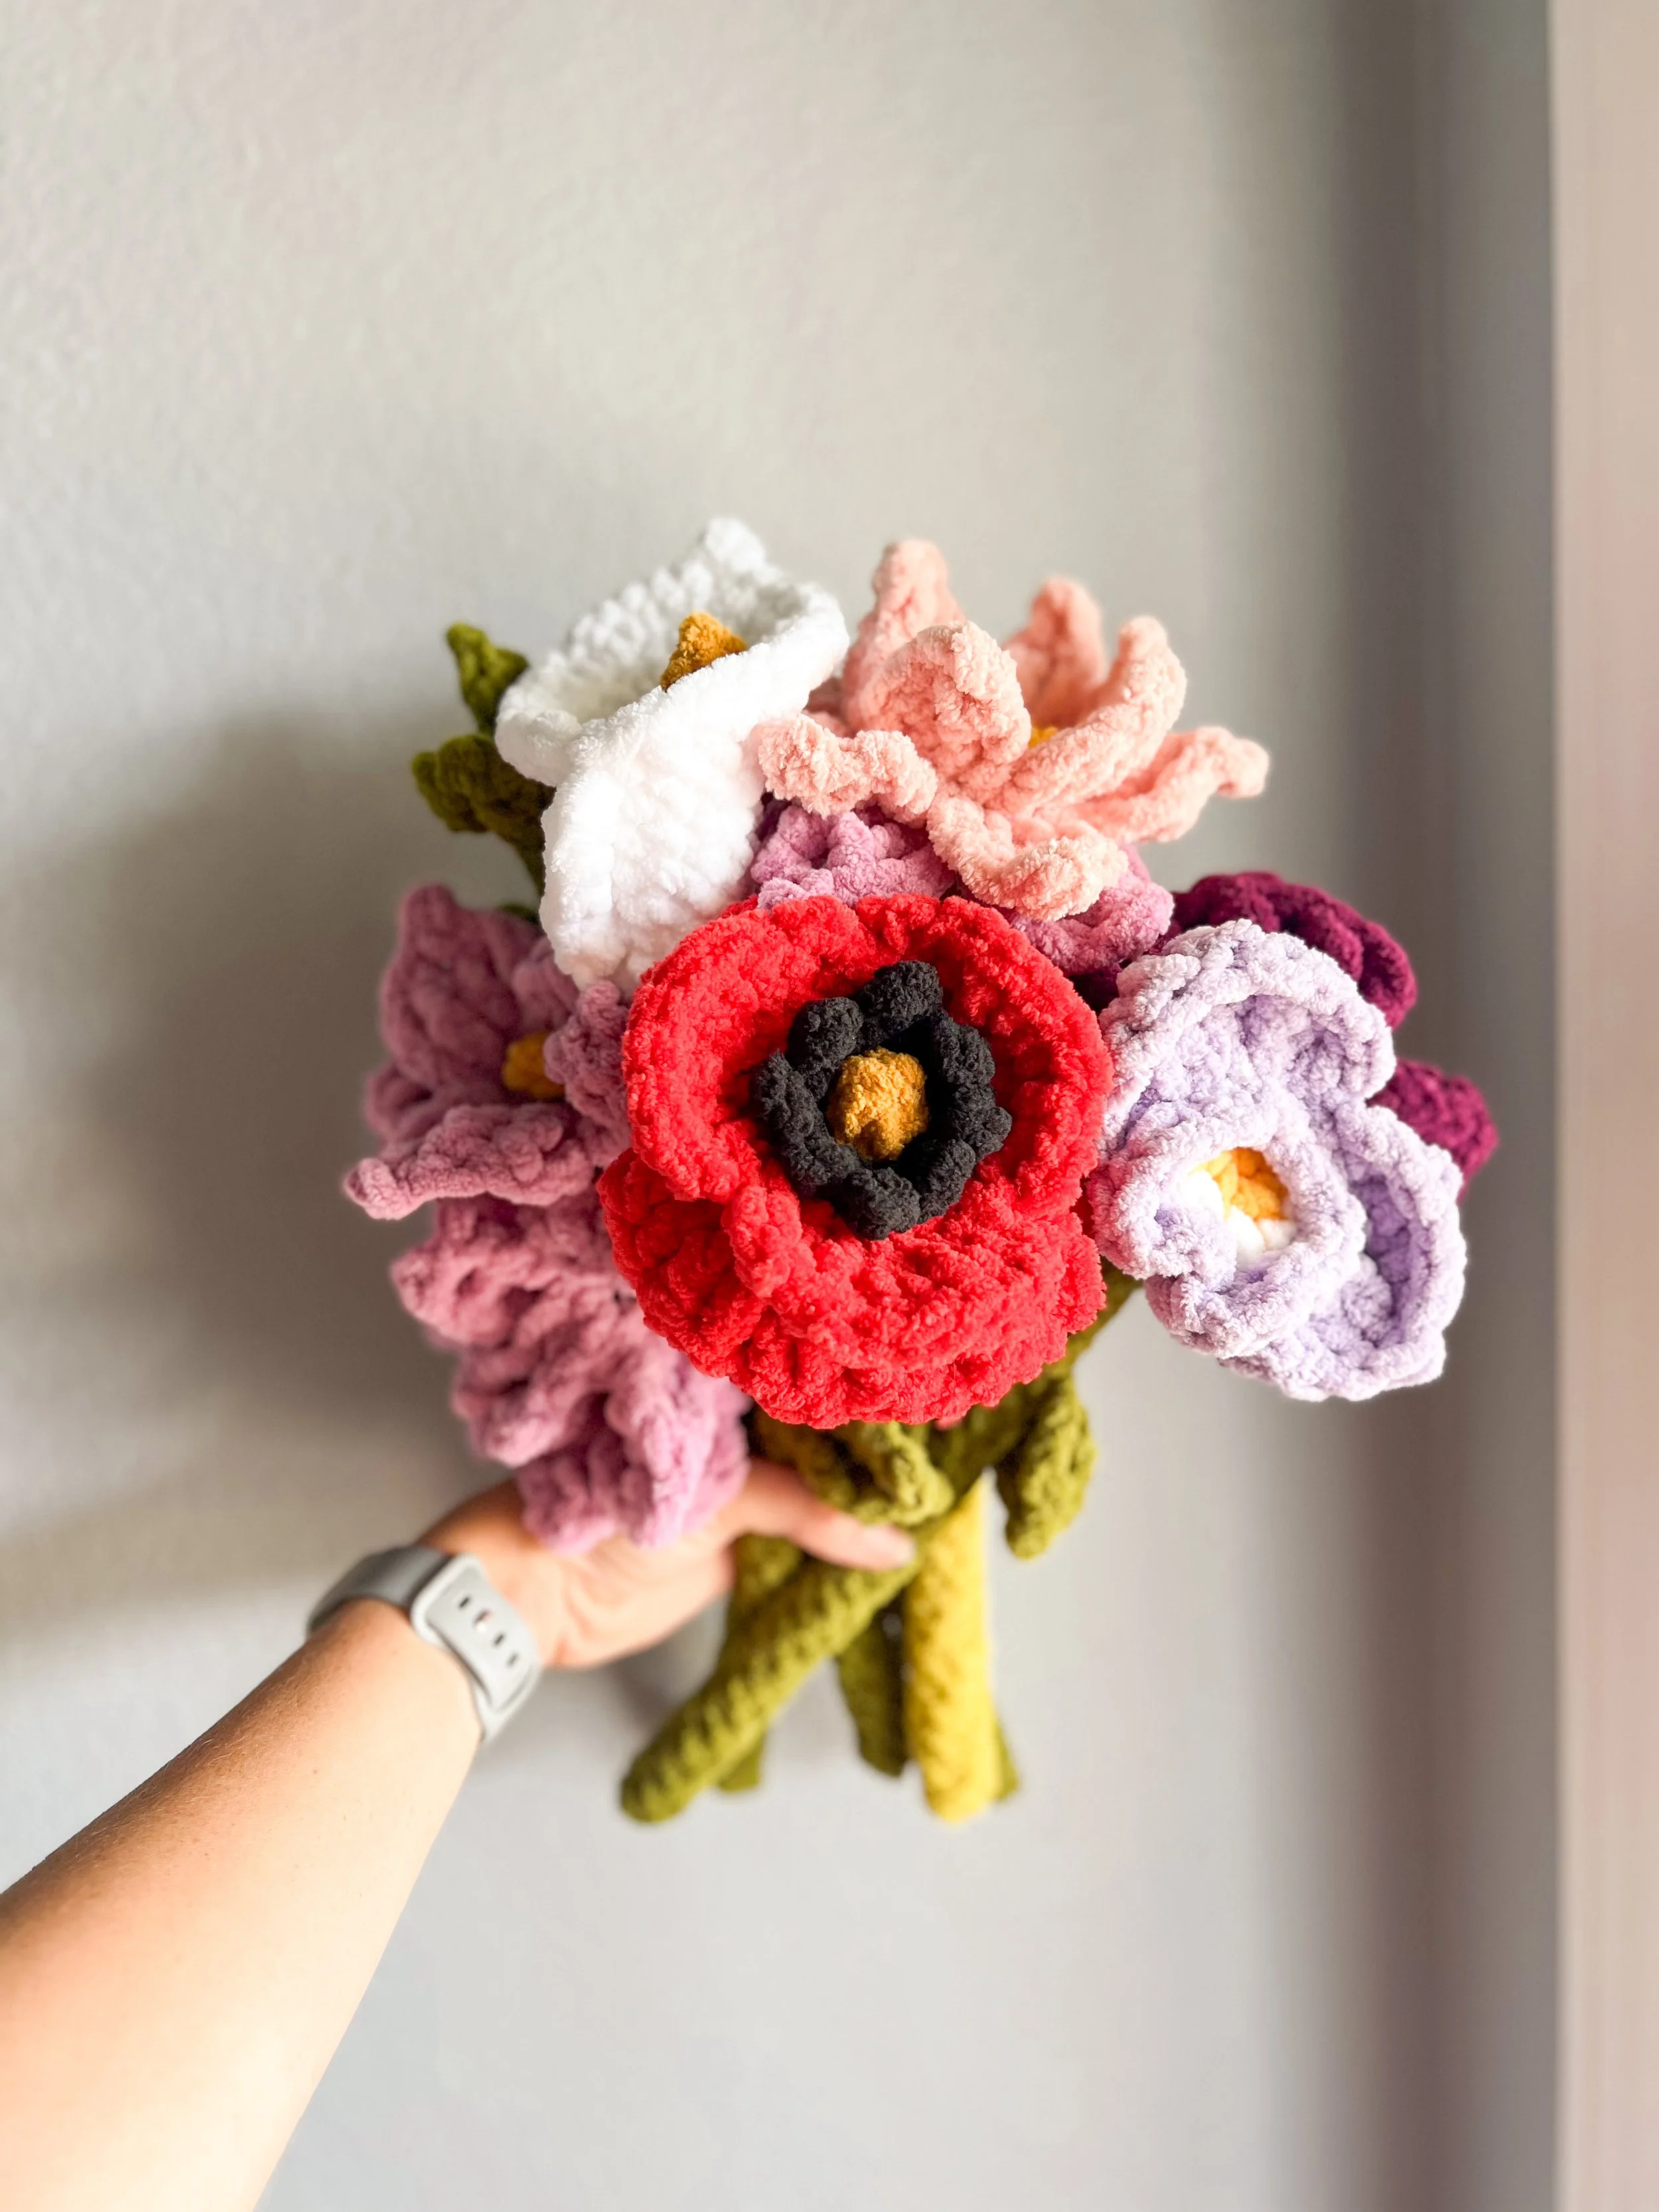
Final Custom Order Bouquet
This bouquet included 2 narcissus flowers for December, one peony for March, 2 carnations for January, and a water lily for July. 💜
You can’t really have a water lily flower without a lily pad though, right? So I decided to jump in and create one myself that fit perfectly together with my newest flower design.
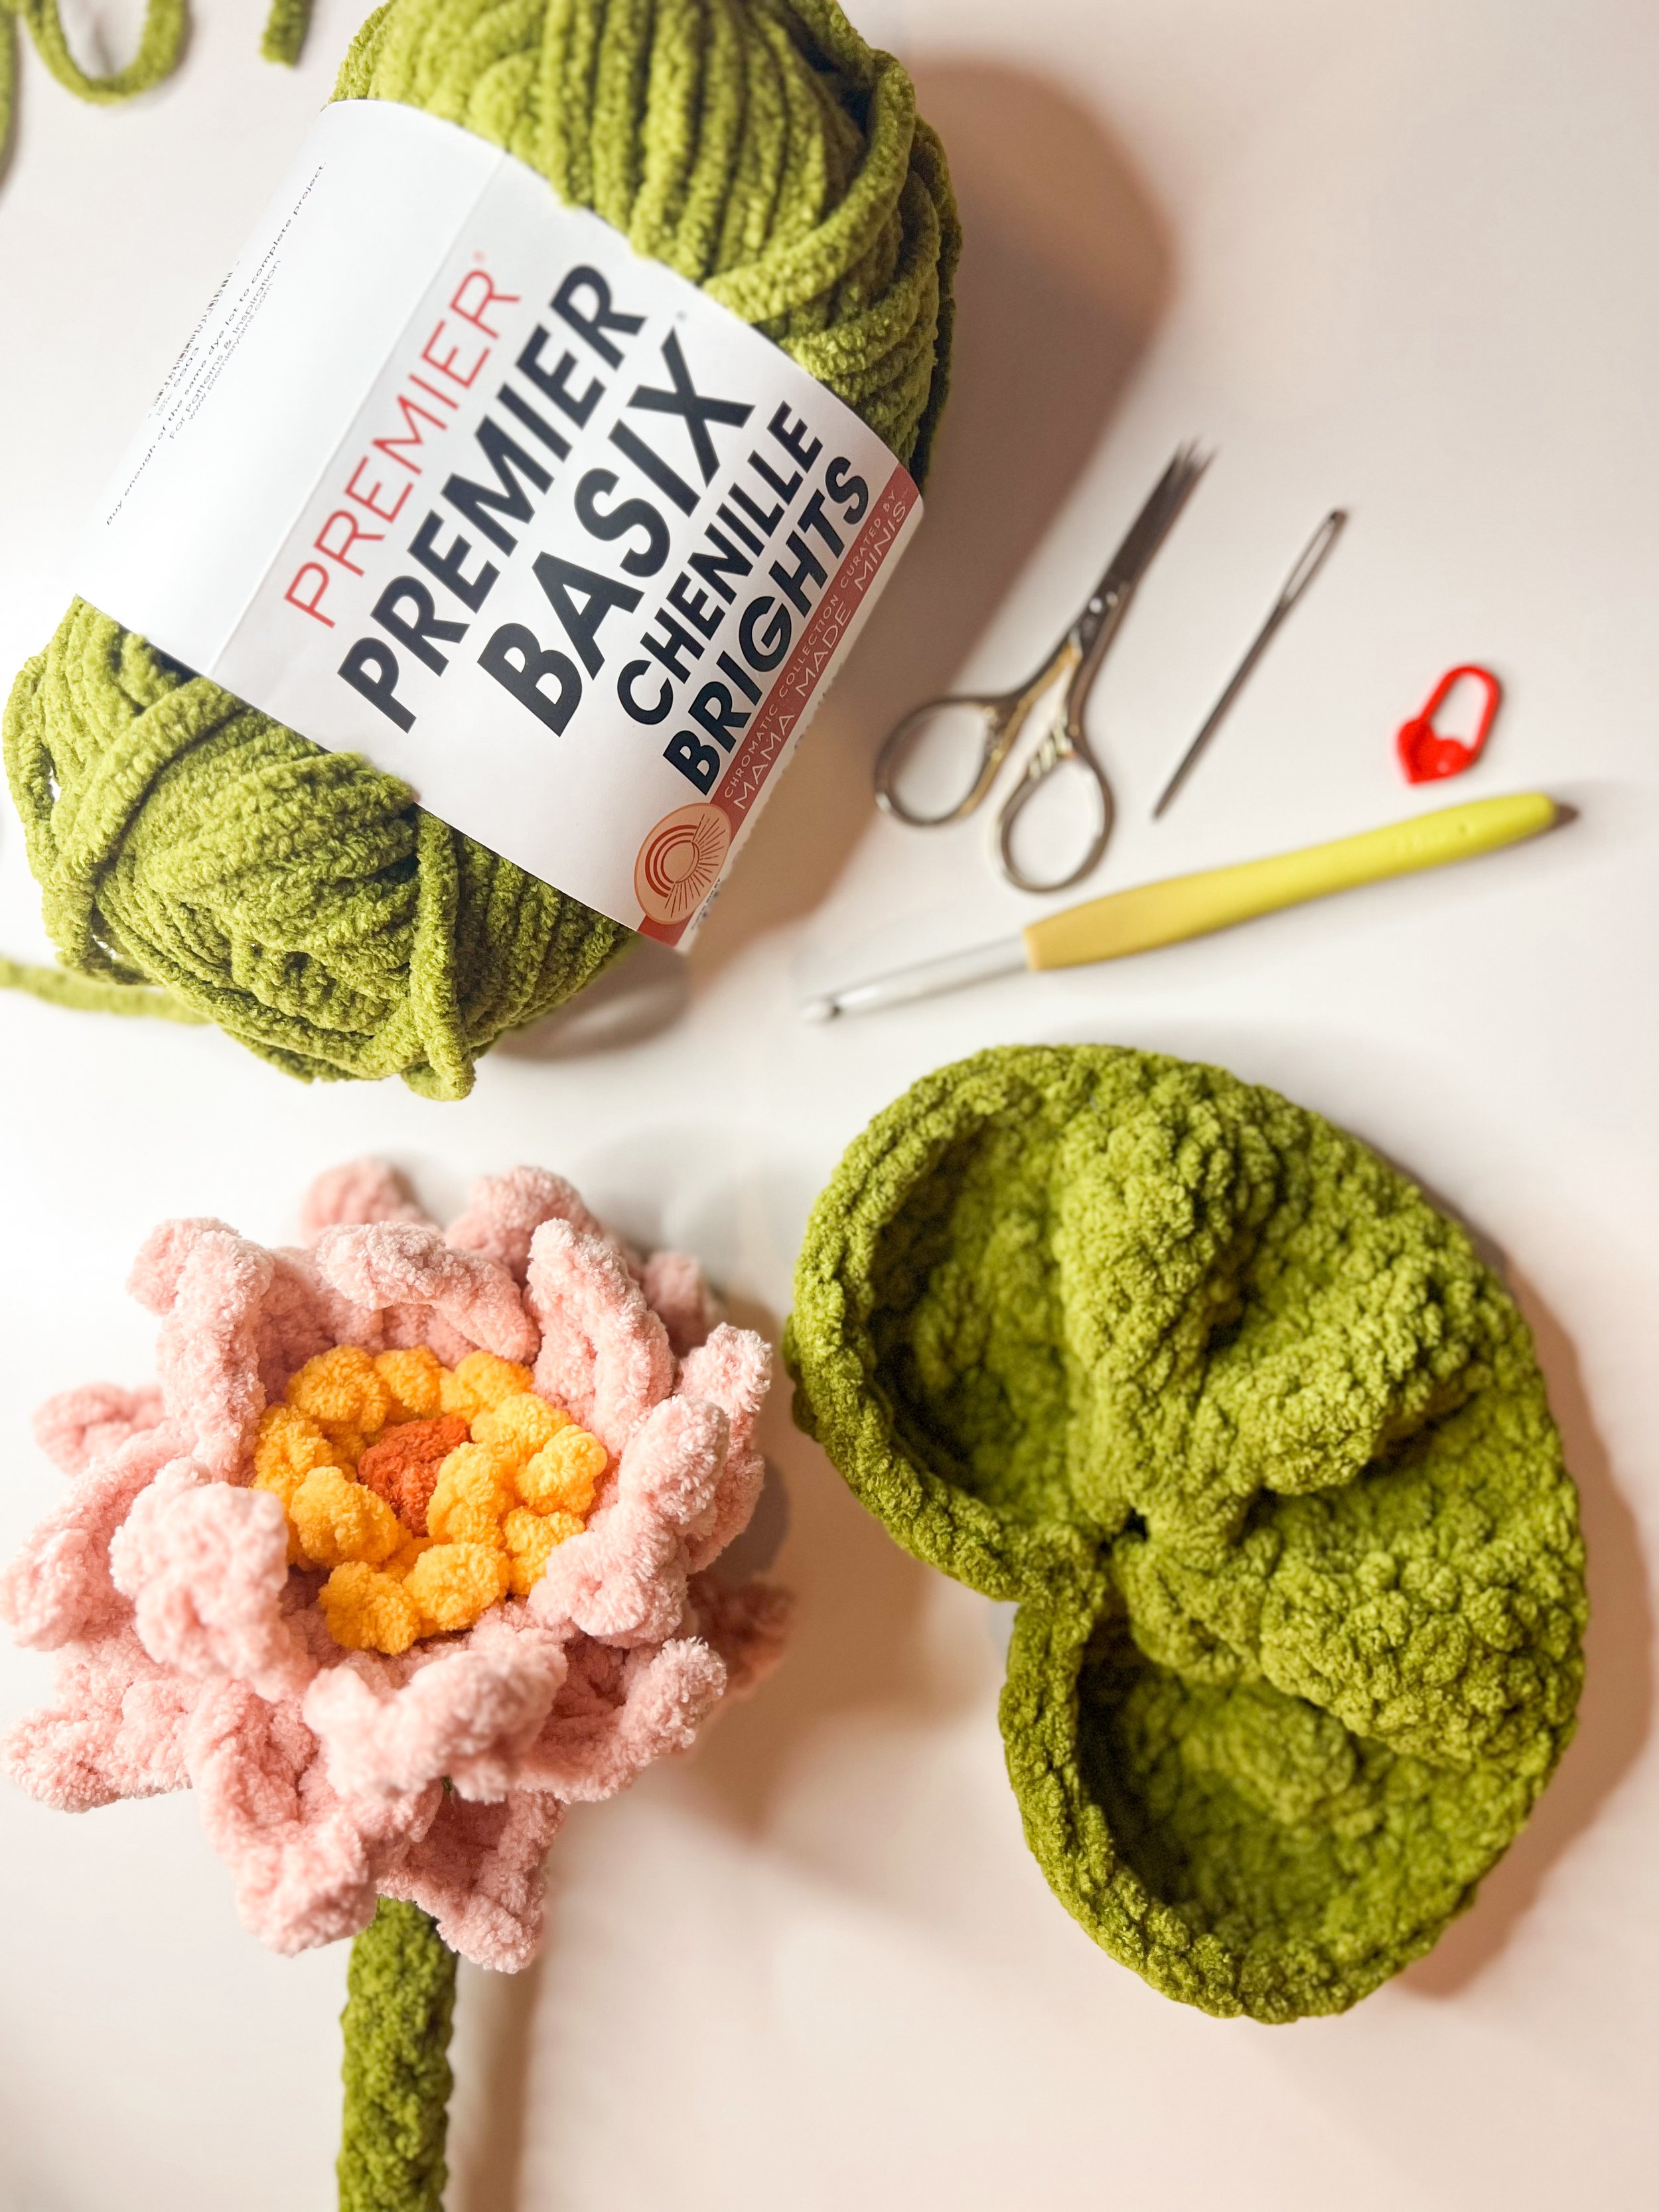
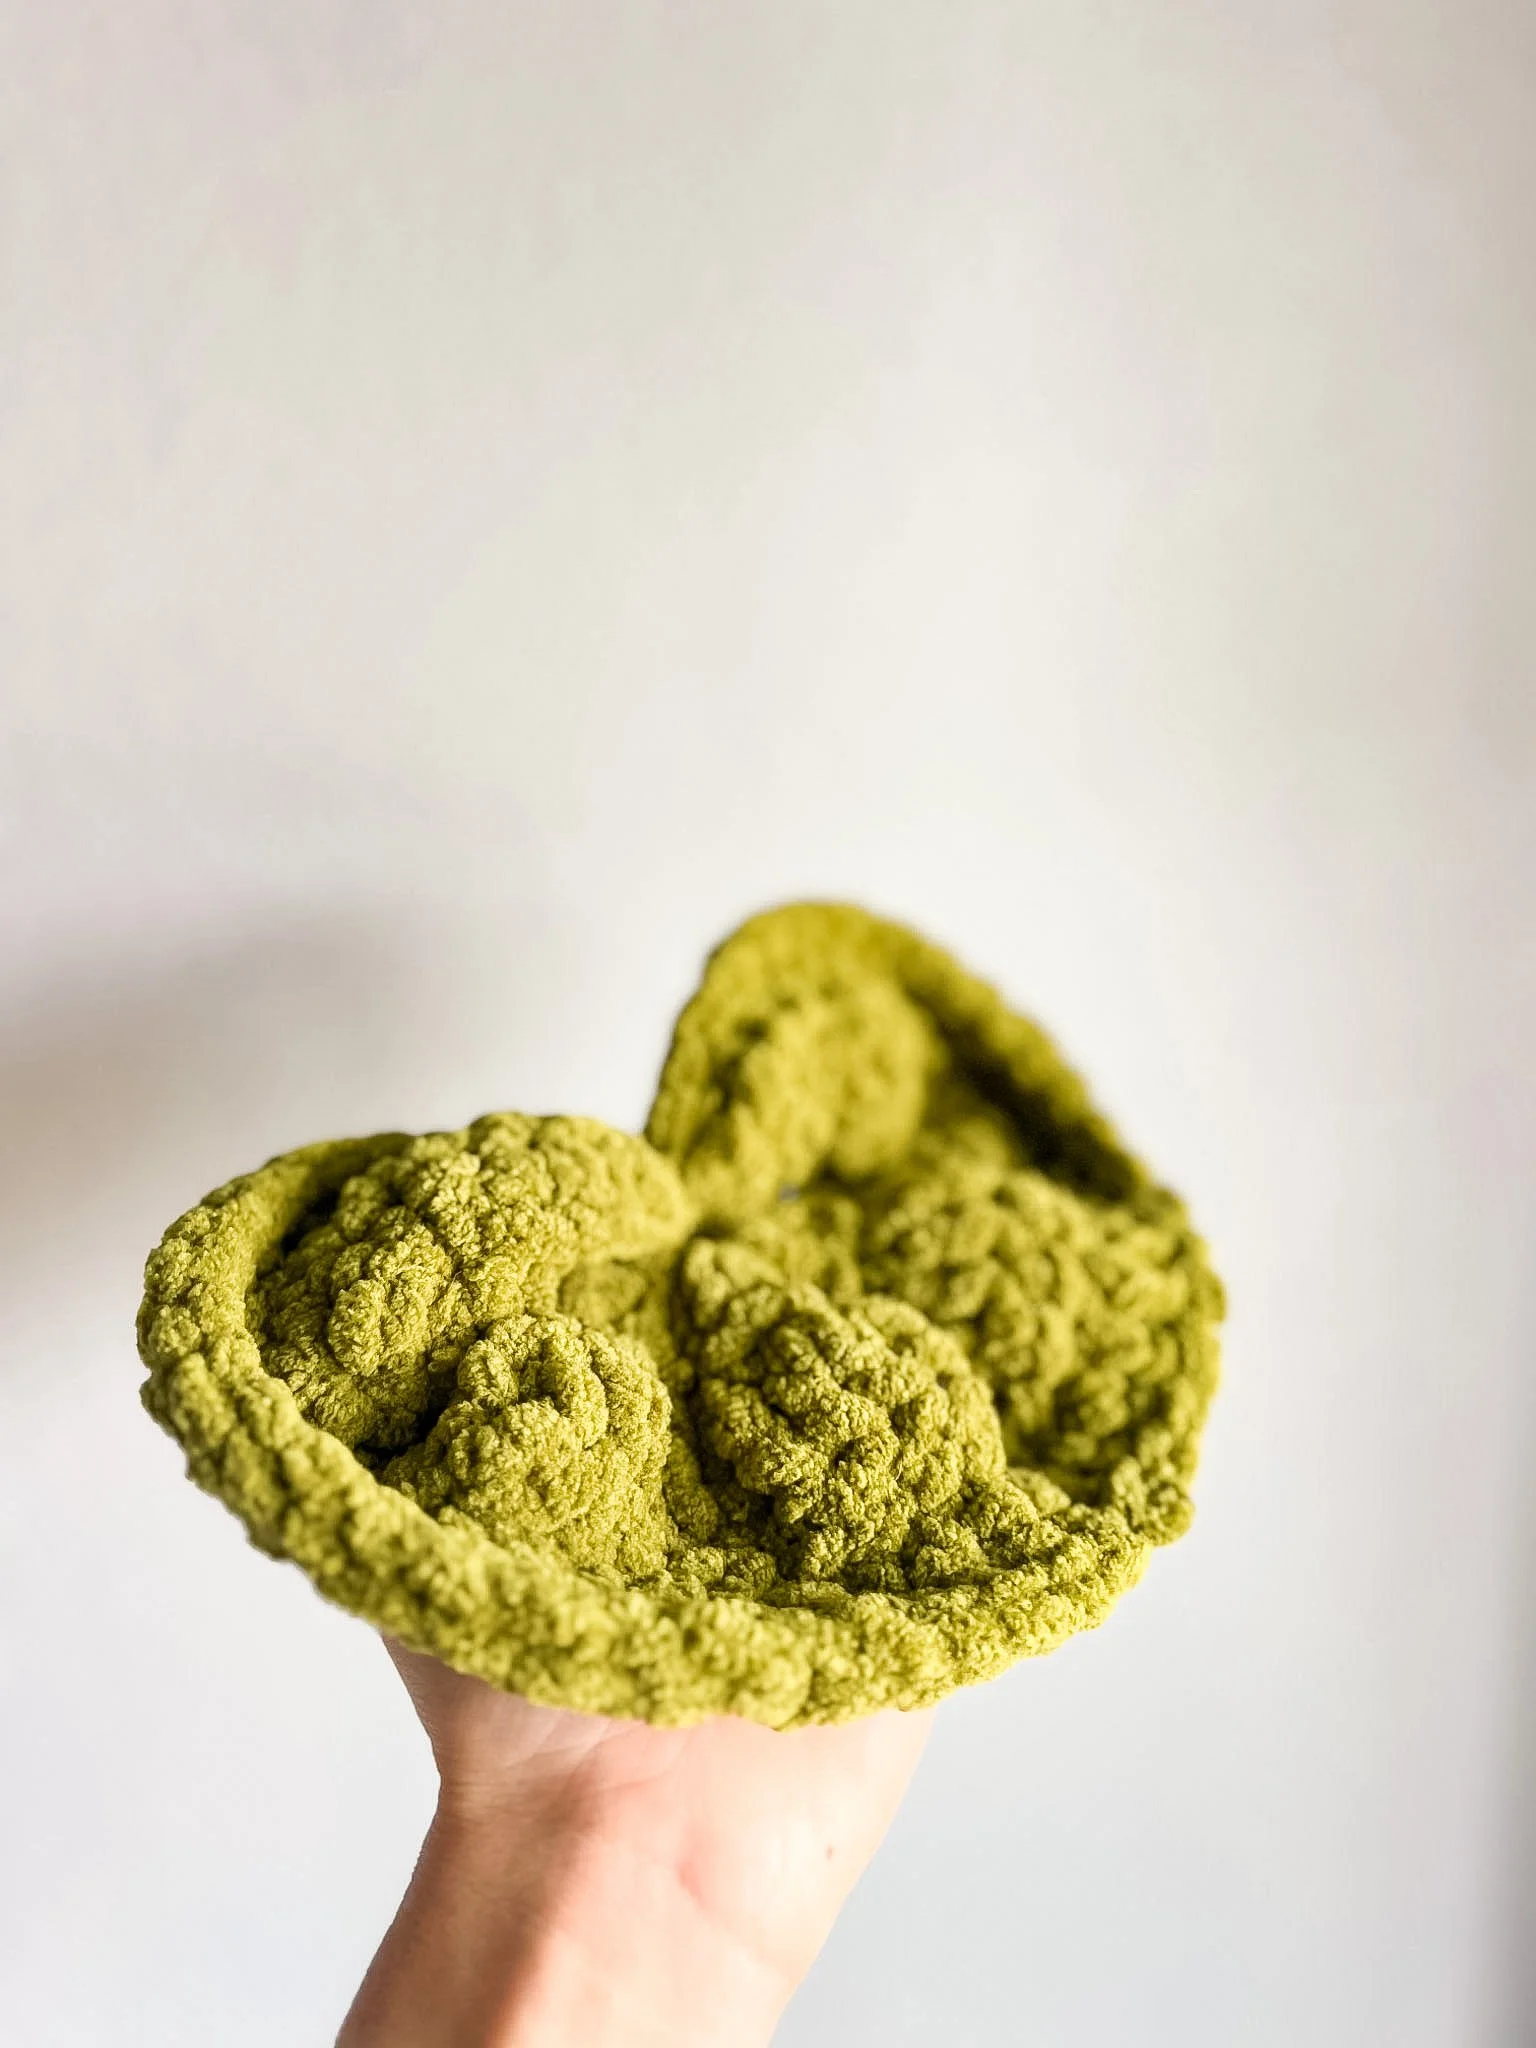
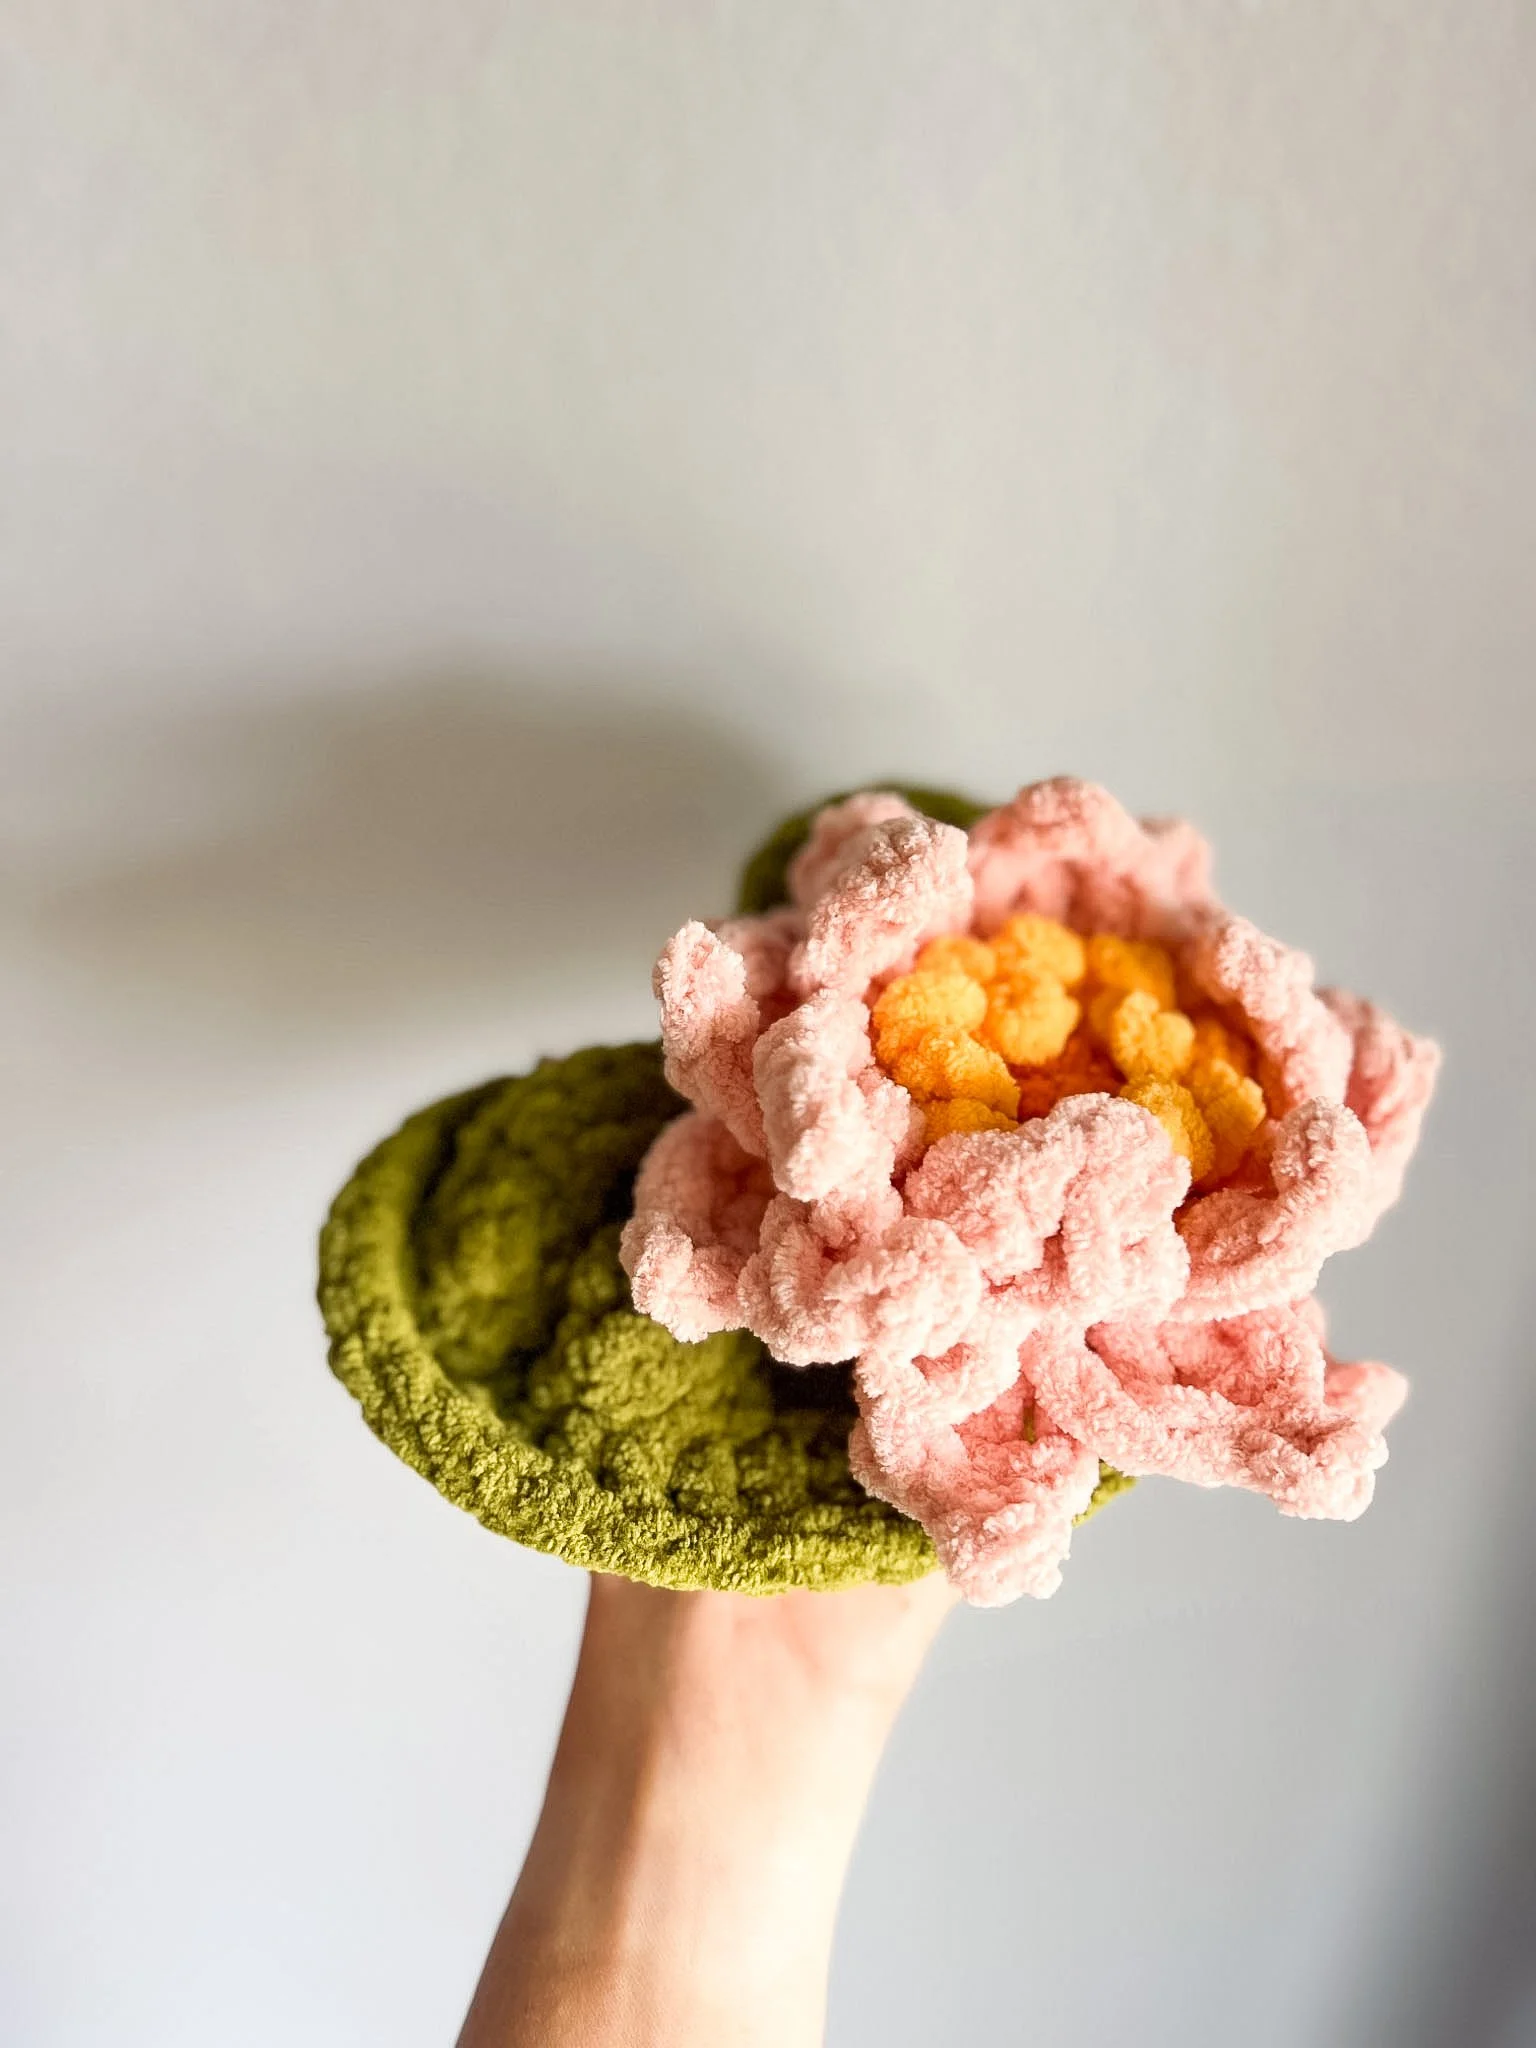
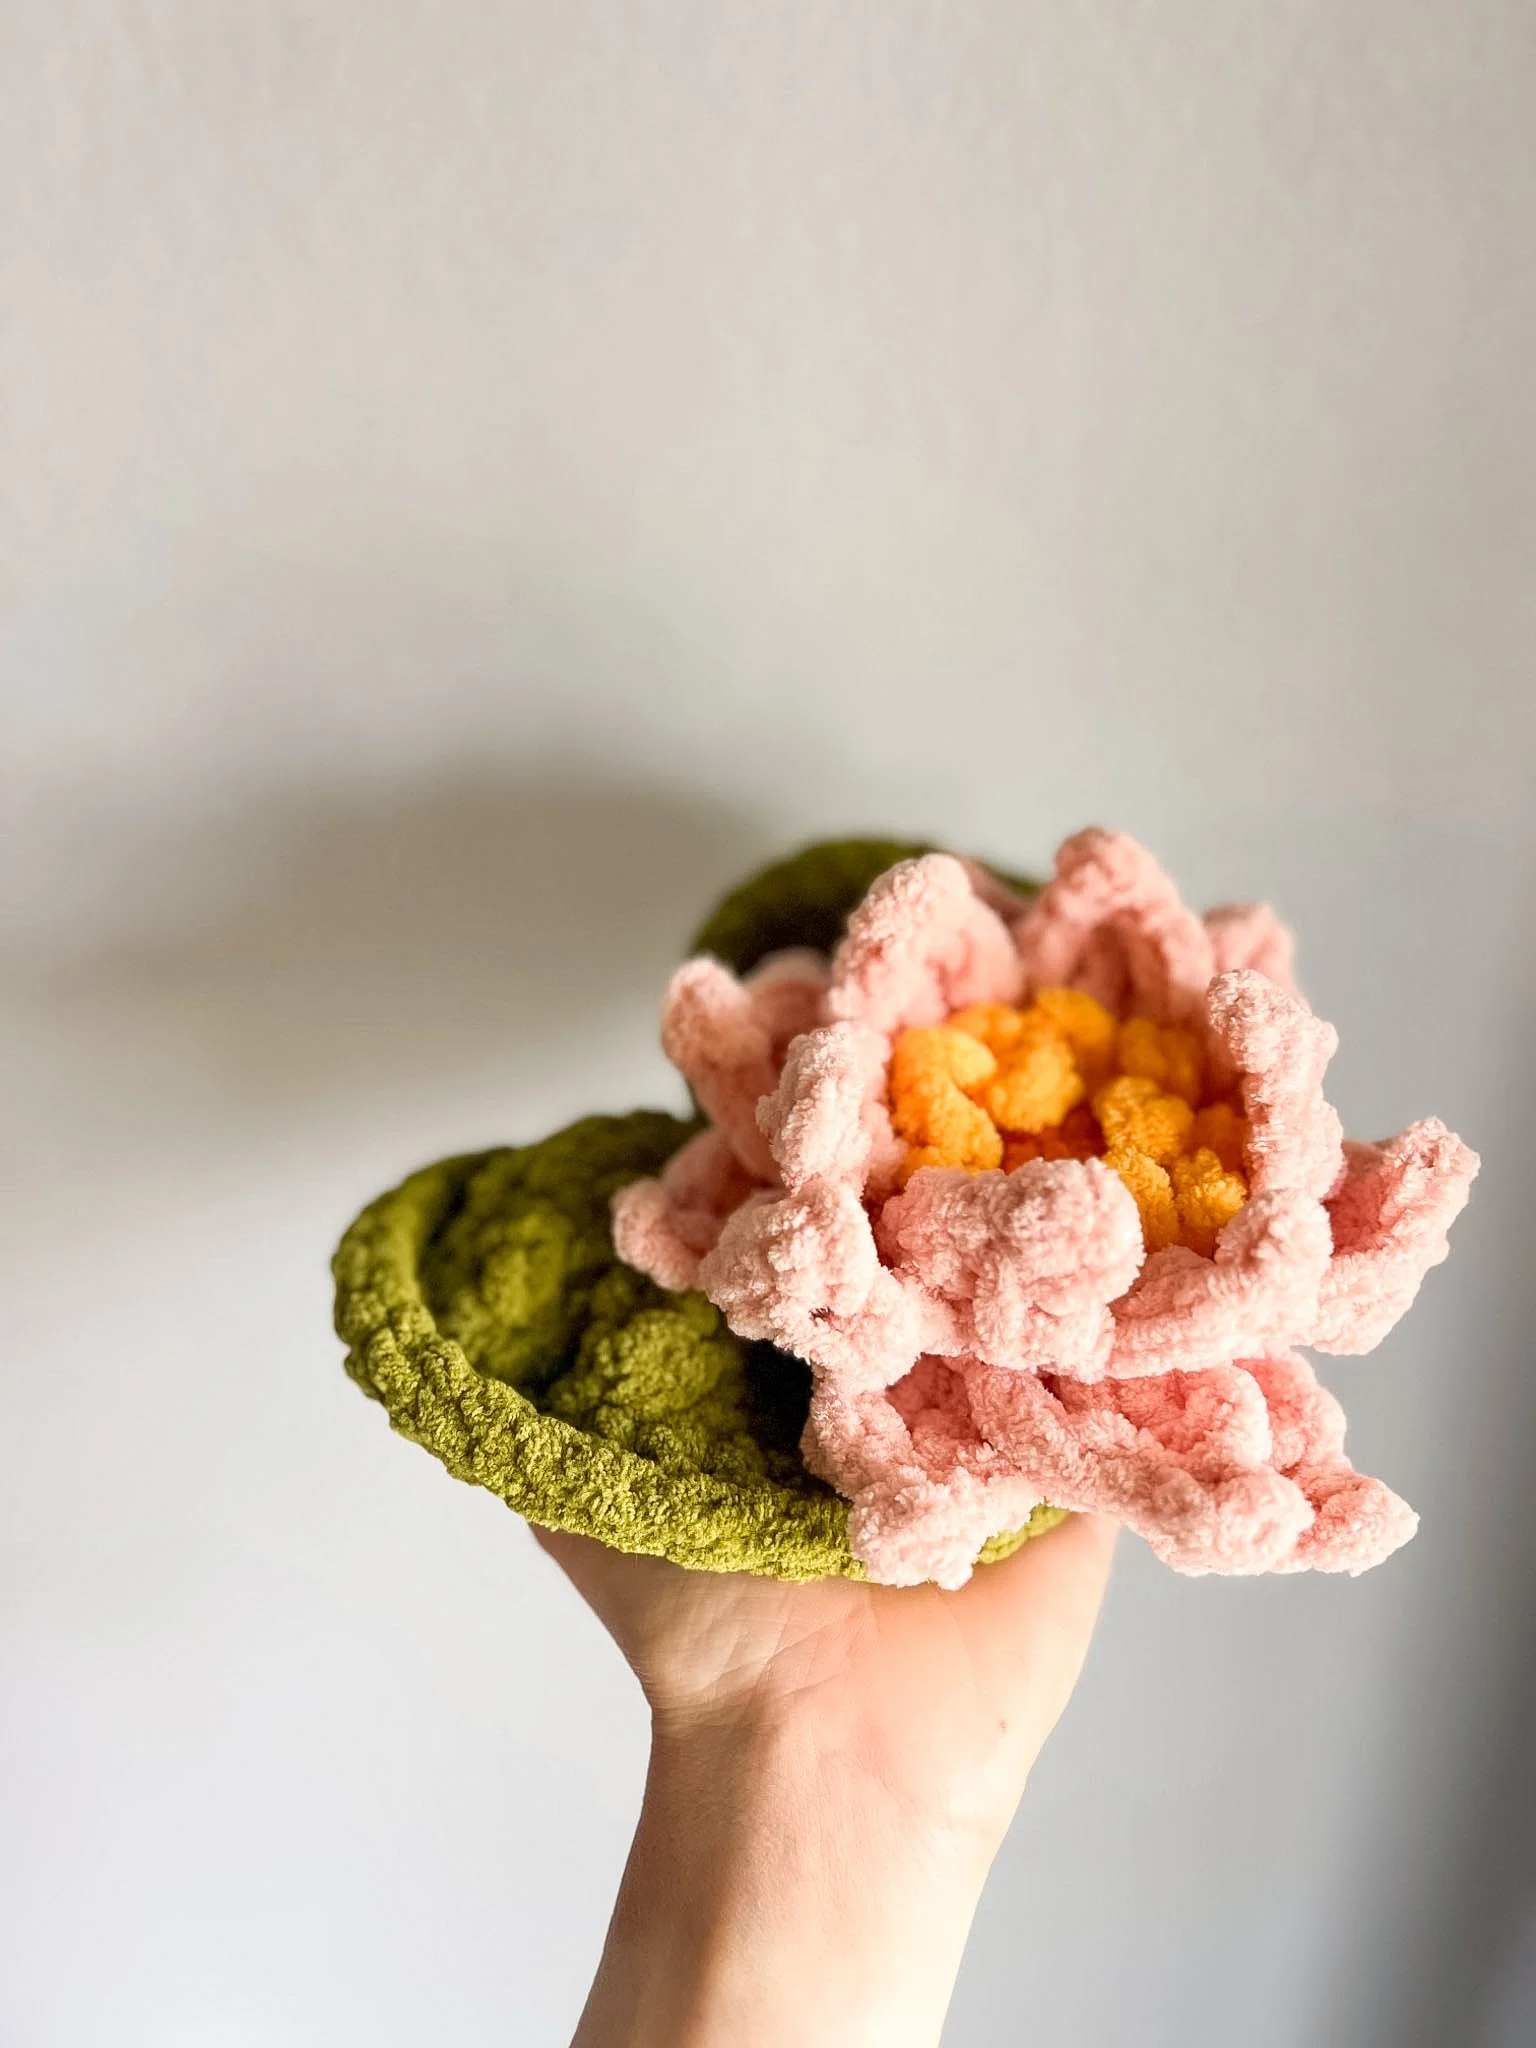
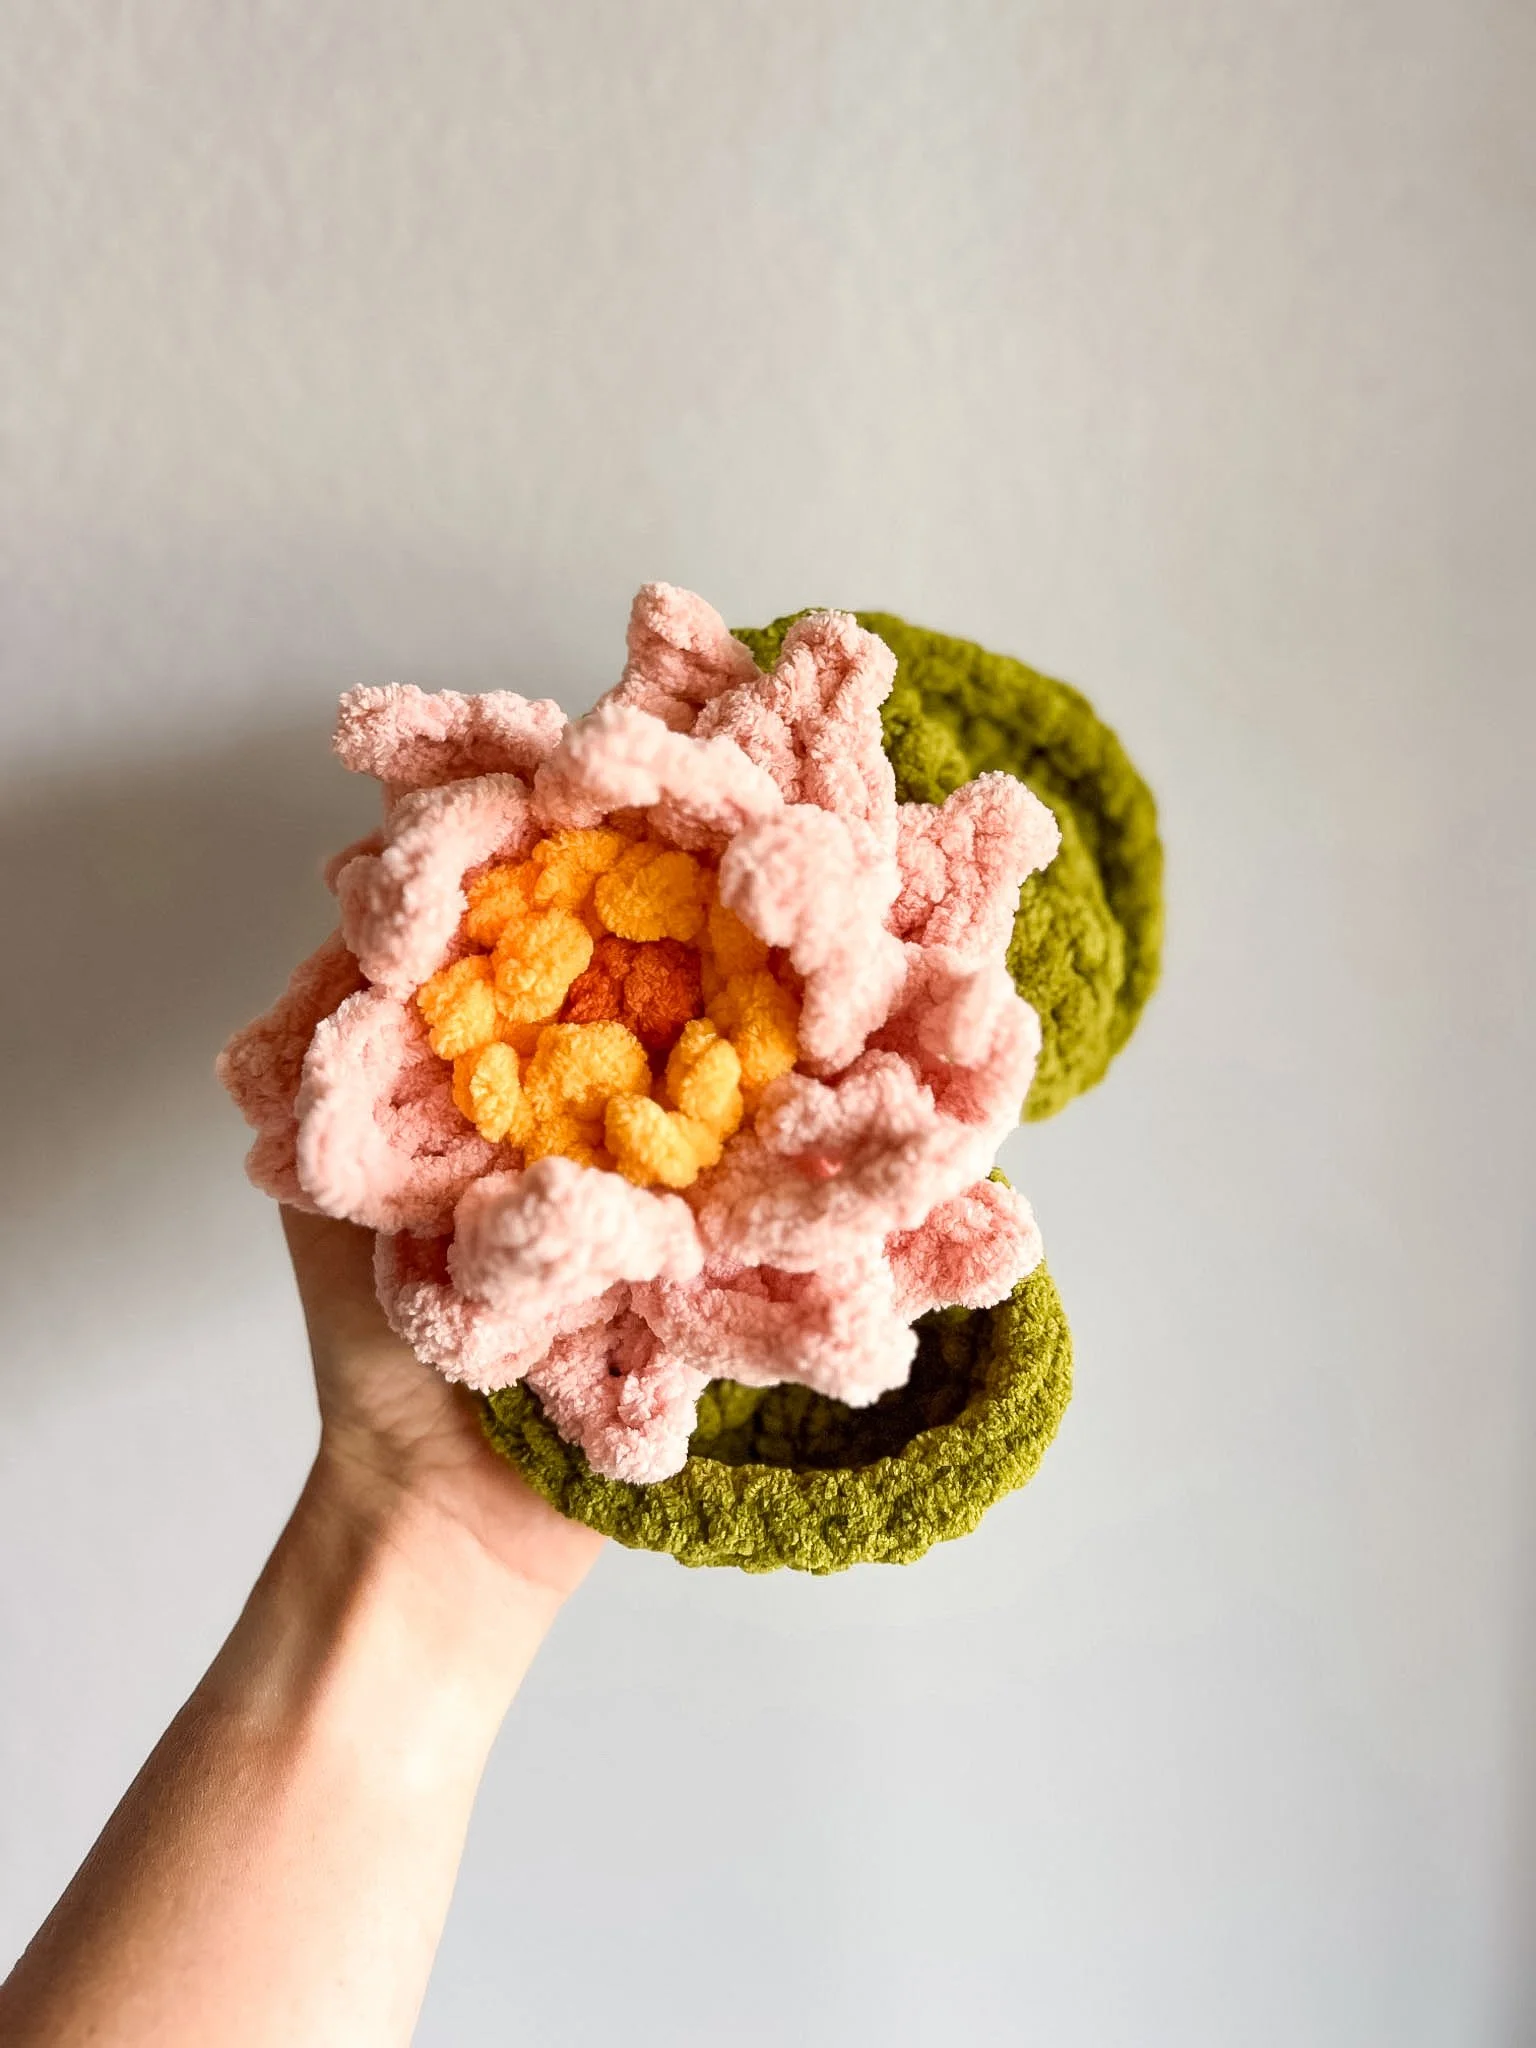
This crochet lily pad is a fun little project on its own, but it’s obviously extra cute paired with my crochet water lily pattern. Together, they make the cutest little pond scene!
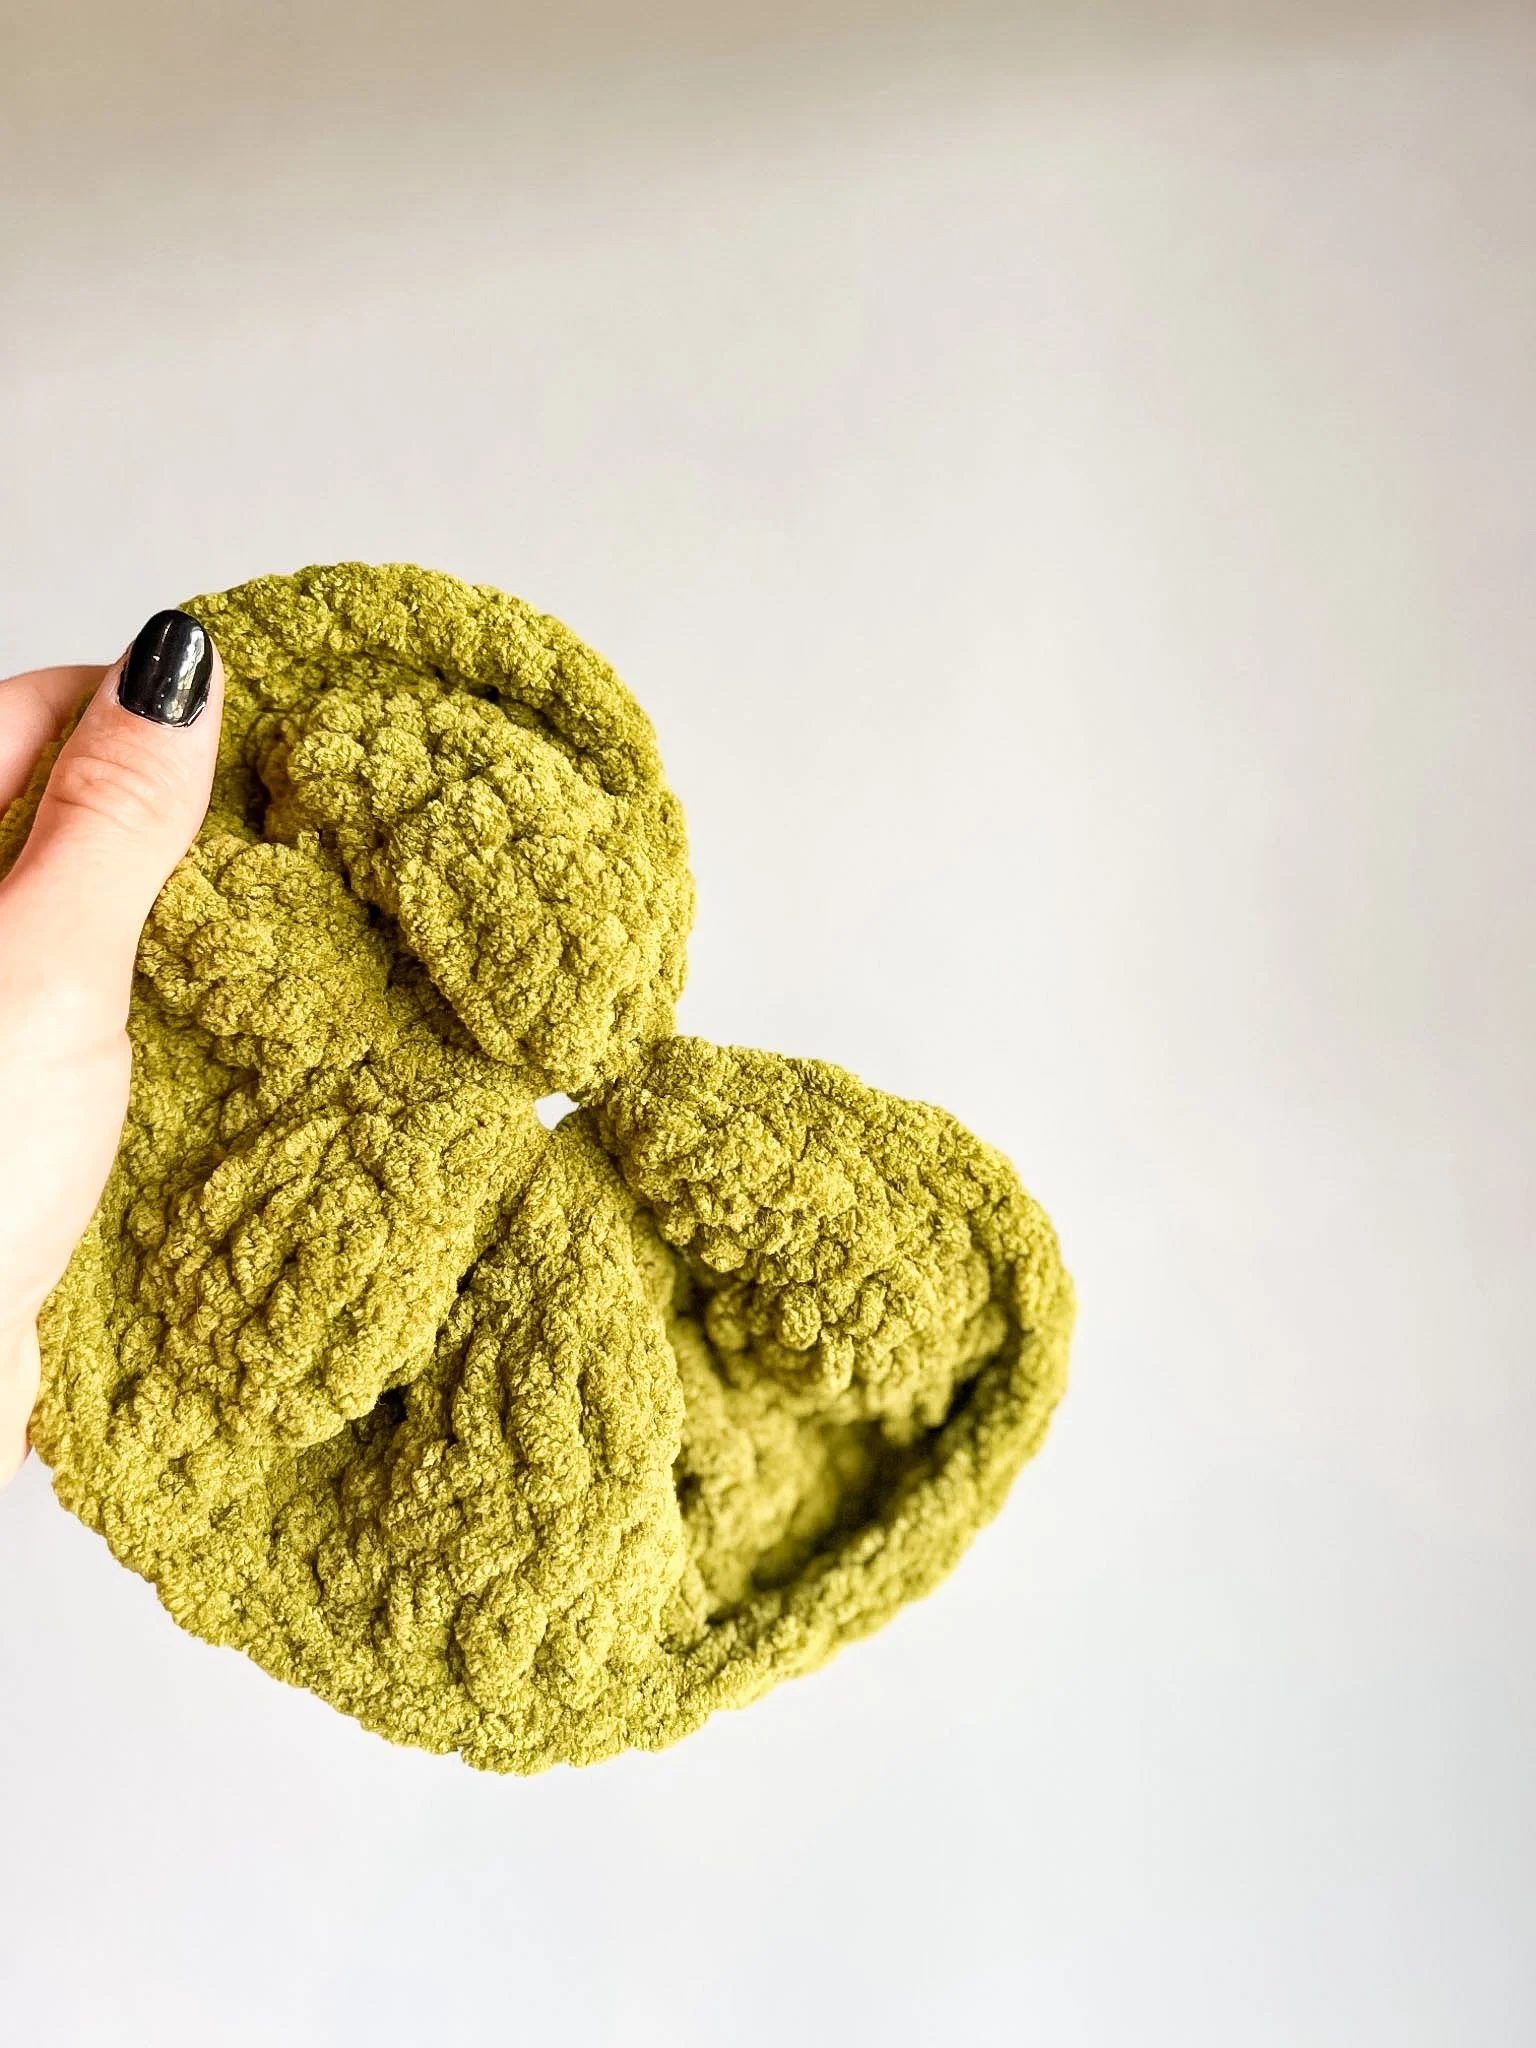
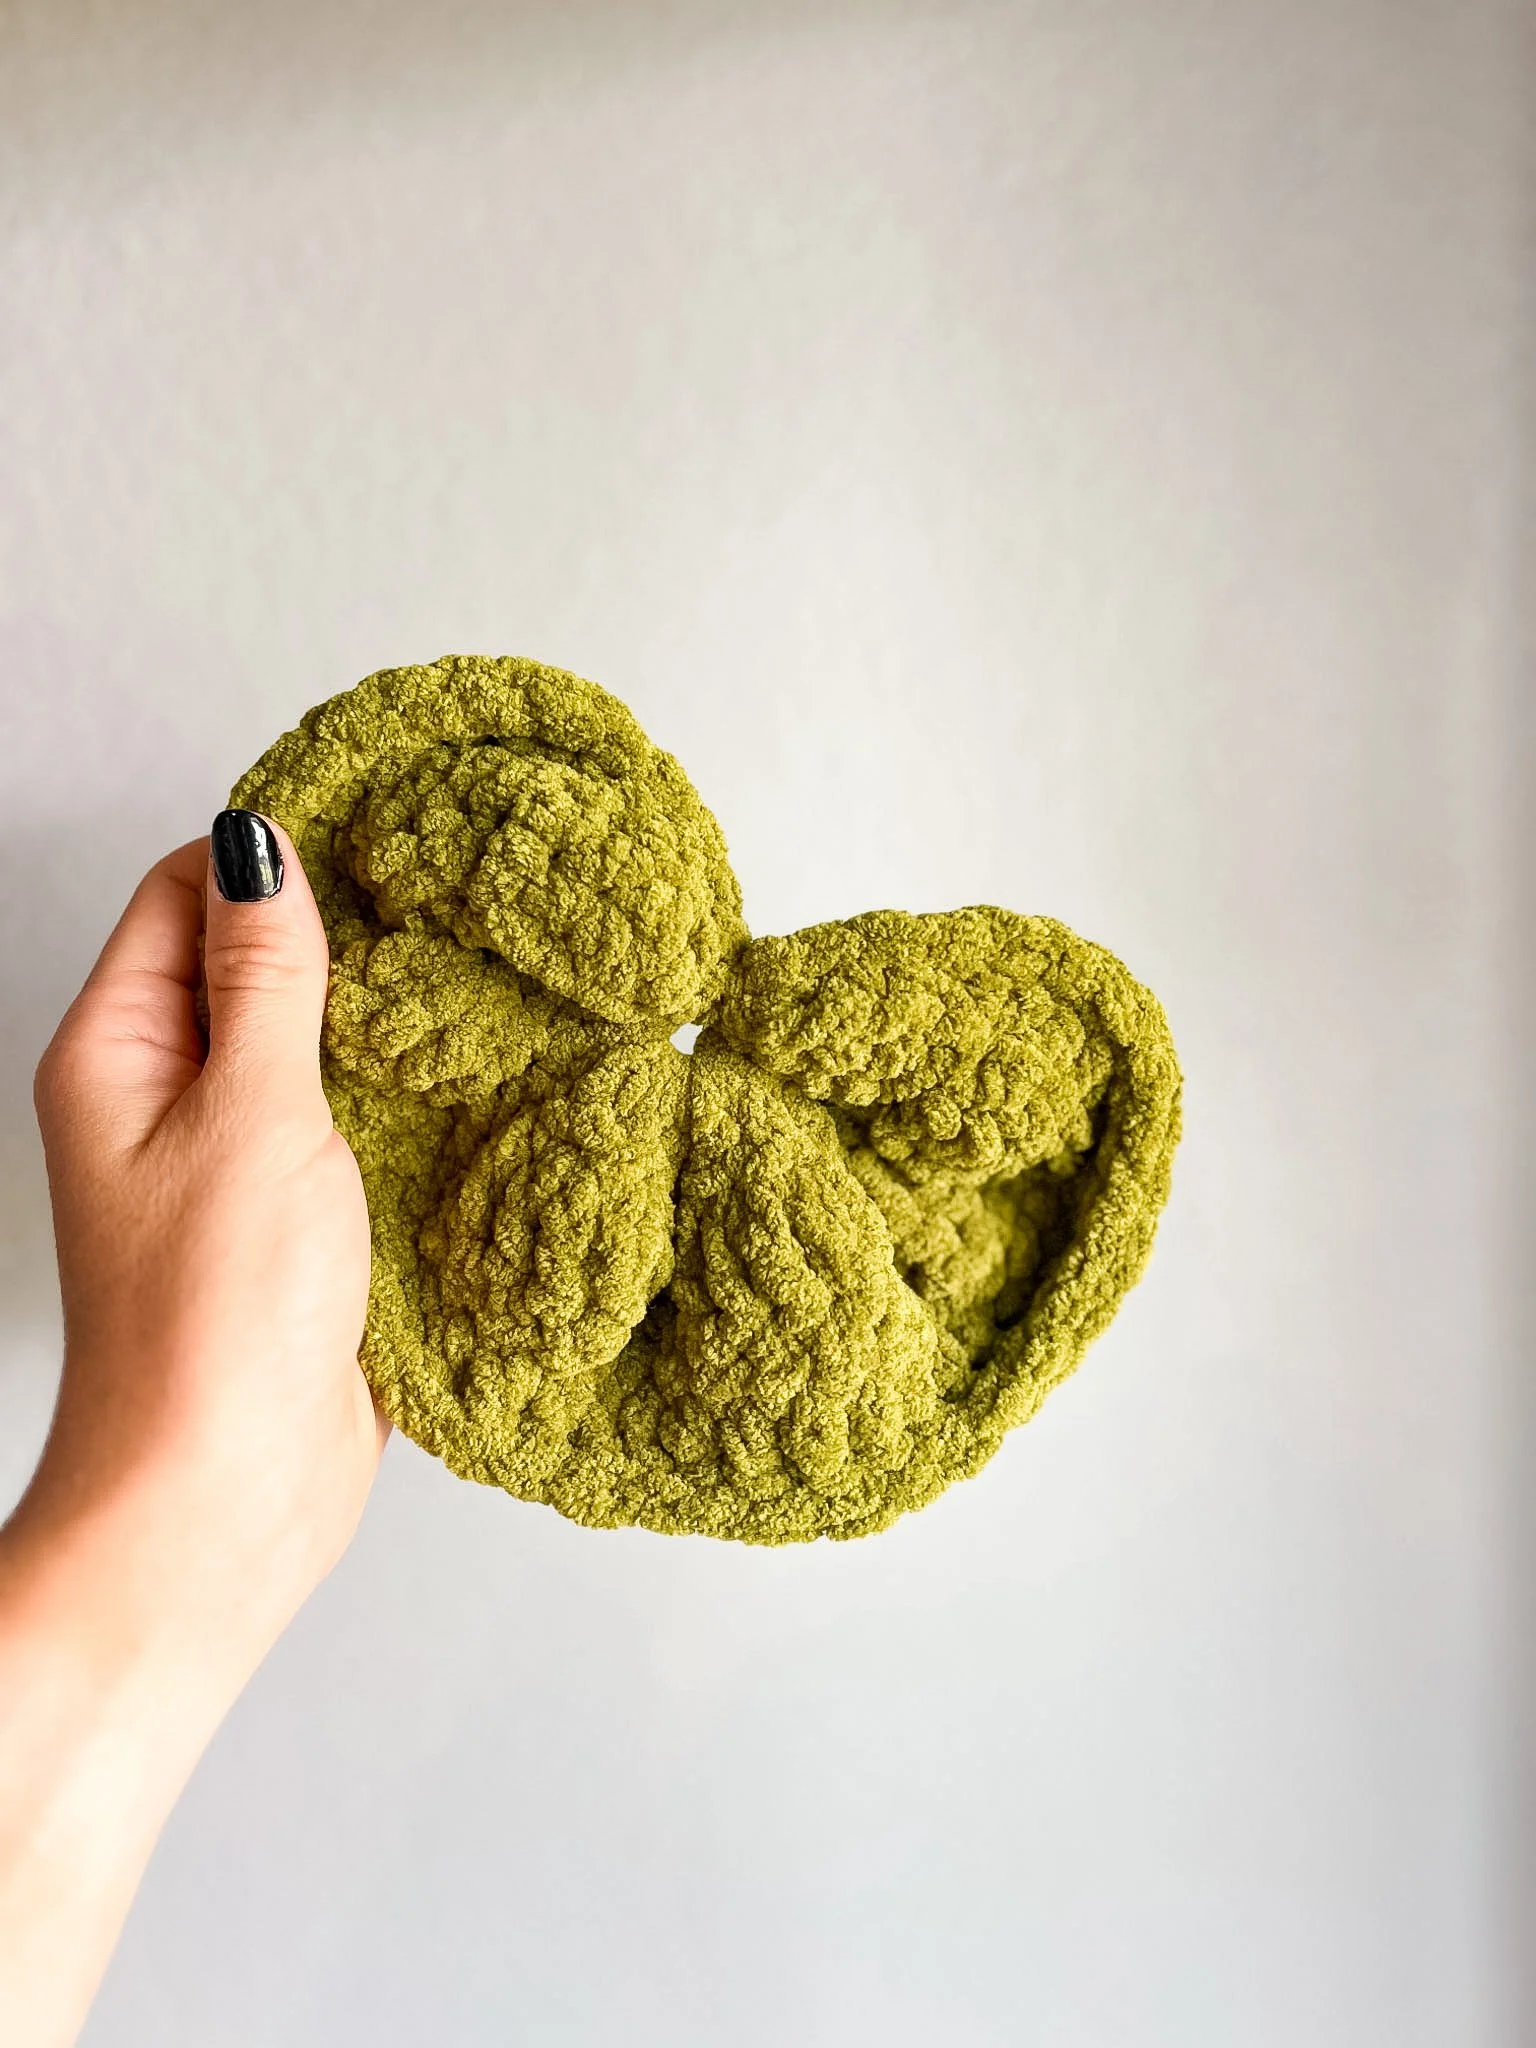
The lily pad is worked by adding several stitches to a magic ring, and then turning to work in rows around the top of the lily pad to create it’s unique shape. It’s an easy pattern, and the perfect project for someone looking for a quick make!
You could also make several lily pads in different sizes and arrange them together to create a little cluster. Add a few crocheted flowers, and suddenly you have your very own miniature whimsical pond!
Honestly, I think that’s one of my favorite things about crochet. You can take one idea and turn it into an entire little creation. How cool is it that we get to do this with just our hands and a few tools and supplies?!
About the Crochet Water Lily
If you’d like to make the crochet water lily that goes with this lily pad, the full water lily crochet pattern is available as part of my Storybook Flowers Crochet Pattern Collection.
The collection is inspired by the flowers and little details you might find in a storybook like Alice in Wonderland, the Wizard of Oz, or even the sweet story of Madeline. The Water Lily was one of my favorites for creating that whimsical, fairytale feeling.
The Water Lily pattern is not included as a free pattern, but you can purchase the full pattern individually or as part of the Storybook Flowers Collection bundle in my shop on Etsy!
I designed the lily pad as a free pattern so you can make the little piece that brings this flower to life—and hopefully have a little fun creating your own whimisical garden along the way.
Why You’ll Love This Crochet Lily Pad
This is one of those crochet projects that doesn’t require a huge time commitment but adds so much character to your finished piece.
A few things I love about this pattern:
🌿 Free crochet pattern
🌿 Quick and simple to make
🌿 Easy level crochet project
🌿 Perfect for pairing with a crocheted Water Lily
🌿 Great for creating whimsical and storybook-inspired crochet pieces
🌿 A fun stash-busting project for your green yarn
Ideas for Using Your Crochet Lily Pads
Of course, you don’t have to use your crochet lily pad only with the water lily!
There are so many fun ways you could incorporate these little leaves into your crochet projects.
Use them to create:
A whimsical crochet pond scene
A fairytale-inspired nursery decoration
A spring or summer crochet arrangement
A woodland or garden-themed project
Props for crochet flowers or amigurumi
A miniature enchanted garden
You could even experiment with different shades of green yarn to create a little variation between the lily pads. A combination of light, medium, and dark greens would be especially pretty if you’re making several together.
Prefer to crochet along with a video? I’ve got you covered!
I made a step-by-step YouTube tutorial for this free crochet lily pad pattern so you can follow along with me as you make your own.
Whether you’re newer to crochet and like being able to watch each step, or you simply prefer video tutorials over written patterns, I hope this makes the pattern a little easier and more enjoyable to make.
You can watch the full crochet lily pad tutorial below:
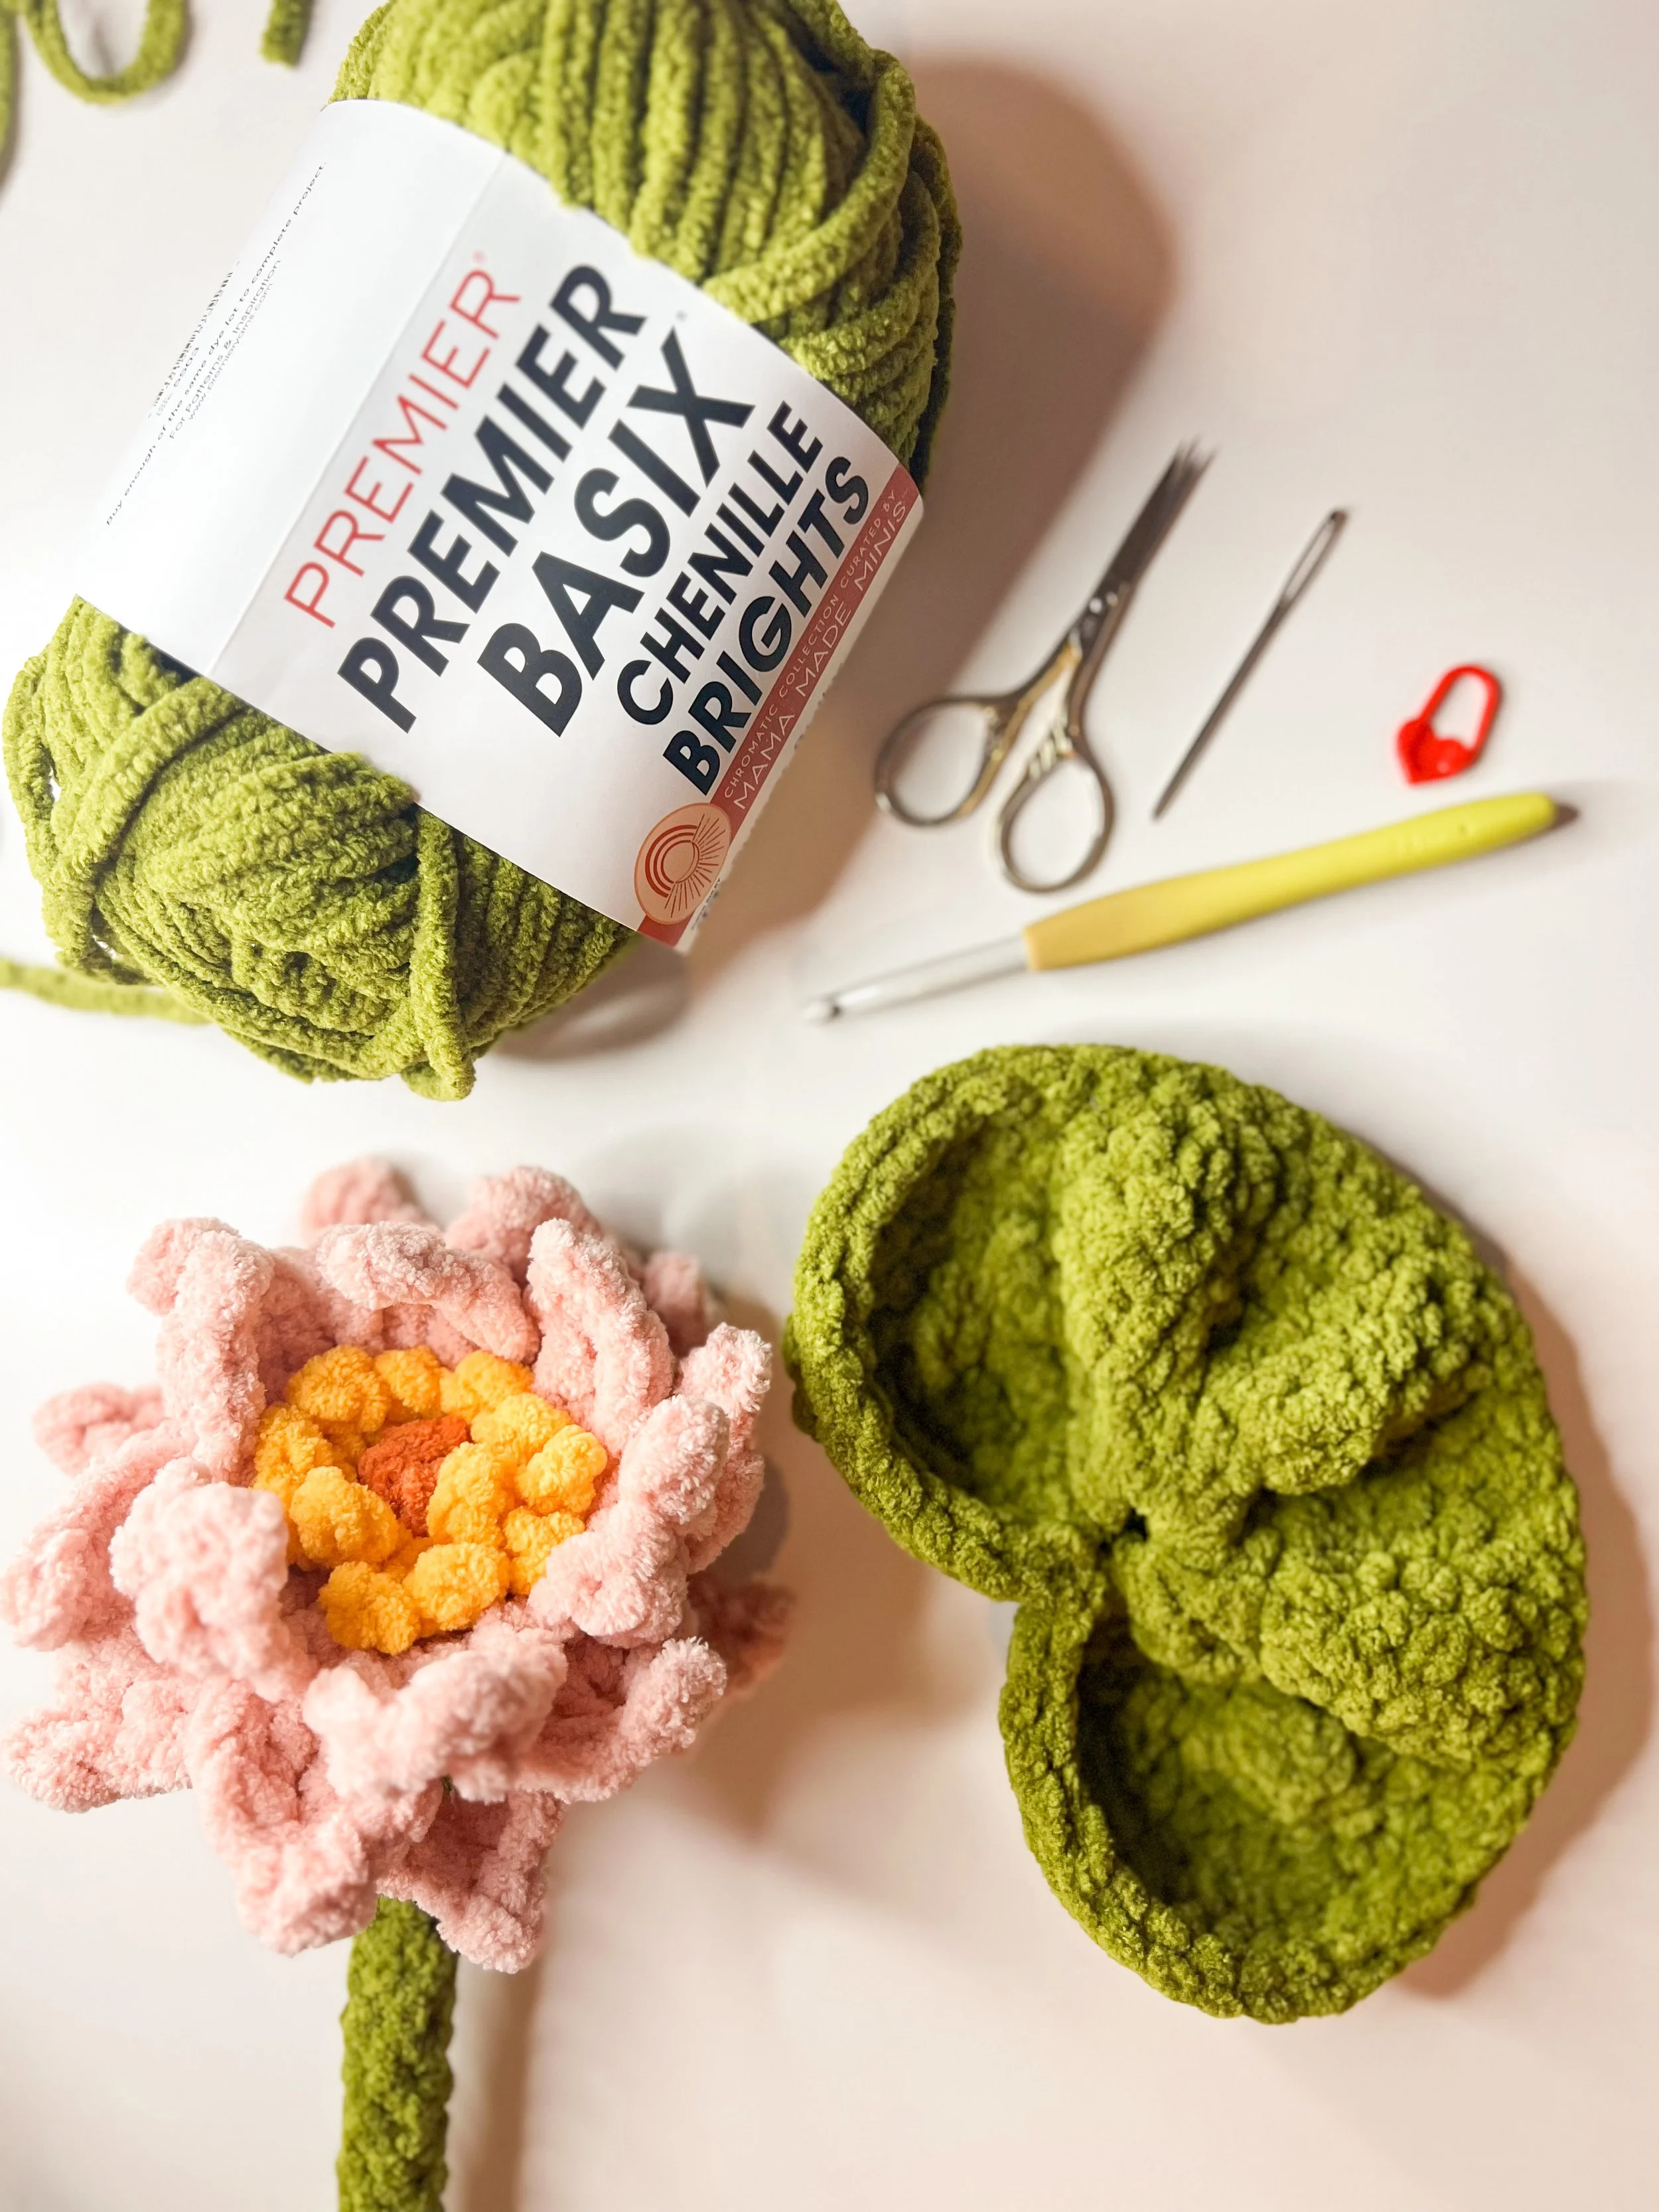
Click below for the tutorial!
If you enjoy the tutorial, I’d love for you to like the video and subscribe to my YouTube channel! It really helps support my crochet pattern business and lets you know when I share new crochet tutorials and patterns. 🥰
If you’re following along with the video, you can use the written pattern below as a handy reference for the stitches and steps.
Free Crochet Lily Pad Pattern
Okay friends, let’s get crocheting!
Below you’ll find the complete free crochet lily pad pattern. I’ve included the materials, crochet abbreviations, and step-by-step instructions so you can make your own.
Materials
Hook: 7.00mm
Helpful Pattern Details
This pattern is written in English, using U.S. crochet terms.
Finished Measurements: 7.5" (19 cm) wide.
The lily pad begins with several sts worked into a magic ring, then turning to work in rows according to the instructions.
For the best look, pair your lily pad with a beautiful water lily!
Abbreviations
beg = beginning
ch(s) = chain stitch(es)
dc = double crochet
dec = decrease
etr = extended treble crochet
flo = front loop only
hdc = half double crochet
inc = 2 single crochet in same stitch
MR = magic ring (click here for a video tutorial)
picot = picot stitch
rep = repeat
rnd = round
sc = single crochet
sk = skip
sl st = slip stitch
st(s) = stitch(es)
tr = treble crochet
yo = yarn over
() = stitches are worked into the same st
[] = sequence is repeated the indicated number of times
Special Stitches
Extended Treble Crochet Stitch (etr) = yo x 3, insert hook into st, yo and pull up a loop (5 loops on hook), [yo and pull through 2 loops on hook] x 3, yo and pull through last 2 loops.
Treble Crochet Stitch (tr) = yo x 2, insert hook into st, yo and pull up a loop (4 loops on hook), [yo and pull through 2 loops on hook] x 2, yo and pull through last 2 loops.
Pattern
Note: the lily pad is worked by starting with a MR (click here for a video tutorial), and then worked in rows by turning and working in the opposite direction after each row.
The following sts in () will be worked all together into a MR.
Row 1: (ch 5, etr, tr, dc 8, tr, etr, ch 5, sl st) into MR, cinch closed, turn to work in opposite direction. (22 sts)
Row 2: working up the 5 ch sts, hdc in next 4 sts, (hdc 3) in next st, (dc 4) in next 2 sts, [(dc inc) in next st] x 8, (dc 4) in next 2 sts, working down the beg 5 ch sts - (hdc 3) in next st, hdc in next 4 sts, sl st into center hole (does not count as a st now and throughout), turn. (46 sts)
Row 3: sk sl st, hdc in next 10 sts, [hdc dec x 2, hdc 7] x 2, dec x 2, hdc in next 10 sts, sl st into center hole, turn. (40 sts)
Row 4: sk sl st, sc in next 4 sts, [(dc inc) in next st, dc in next st] x 3, dc in next 20 sts, [dc in next st, (dc inc) in next st] x 3, sc in next 4 sts, sl st into center hole, do NOT turn. (46 sts)
Rnd 5: sl st in each st around, sl st into center hole. (46 sts)
Fasten off and weave in ends. You’ve just finished your lily pad!
More Storybook-Inspired Crochet Flowers
If you enjoyed making this crochet lily pad, be sure to check out the rest of my Storybook Flowers Crochet Pattern Collection.
This collection includes a variety of whimsical crocheted flowers inspired by the kinds of blooms you might find in a whimisical storybook. Each flower is designed to have its own little personality while still fitting together beautifully as a collection.
And if you make the water lily, don’t forget to come back and make this free crochet lily pad to go underneath it!
I hope you have as much fun making this little piece as I did. There’s something about seeing a whole collection of crochet patterns come together and turn into something magical.
Happy crocheting!
The Storybook Flowers Collection
Water Lily Flower
Poppy Flower
Gladiolus Flower
Calla Lily Flower
Pansy Flower
This pattern is copyright © 2026 Junebug and James. Pattern and photos can NOT be used for resale purposes. Distribution in part or in whole of this pattern is strictly forbidden. Any Lily Pad created using this pattern may be sold, but please remember to give credit to Junebug and James. | www.junebugandjames.com
Want to see more of my free patterns? Check all of them out at the button below! From dishcloths to cute strawberry amigurumi hearts, and pumpkins and pillows, my collection of free patterns has been growing slowly but surely and I would love to see what you make from them!
Subscribe to my channel on YouTube
Check out my other printable, downloadable patterns in my shop on Etsy!
Please feel free to reach out to me if you have any questions or pattern assistance needs! If you share your finished Lily Pad on social media, please feel free to tag me so I can see and share your work!
